← Digital MasterCook Book

NorthStar Prime · Fantasy Table · Wave 098

Herb Roasts &
Orchard Bakes

Ten new recipes for the everyday table: sage and apple pan juices, warm ginger pears, bright vegetables, and crisp phyllo with tender fruit. Each recipe includes measured ingredients, a portion guide and a complete method.

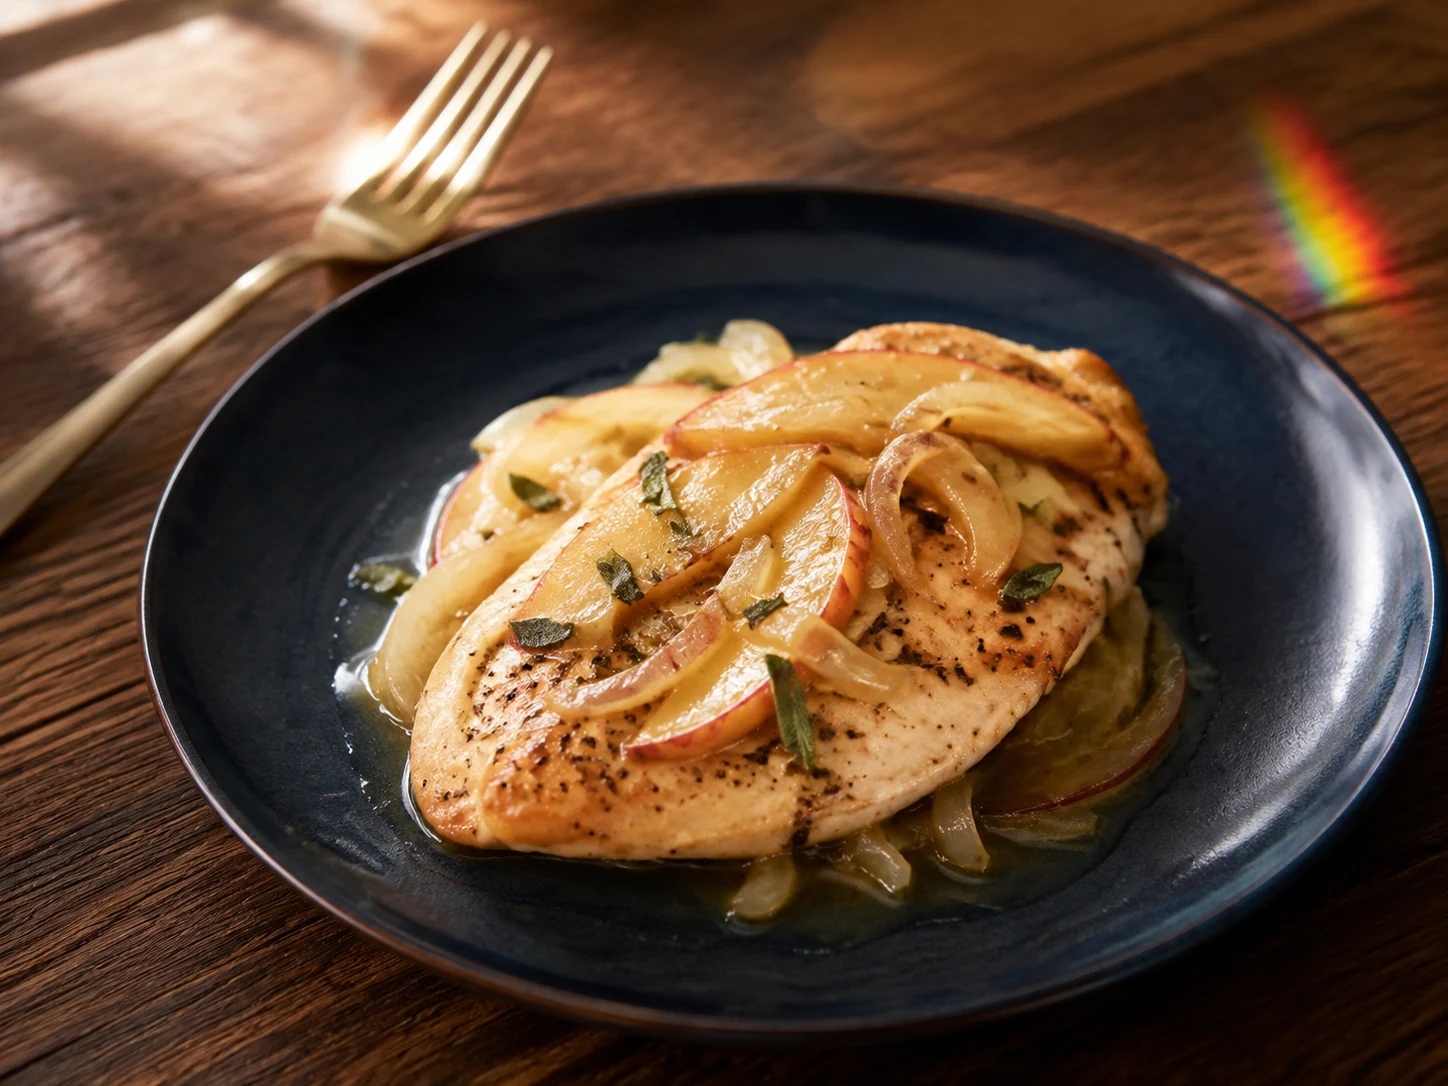
AI illustration of Sage Chicken Cutlets with Apple-Onion Pan Juices
AI-generated serving illustration; appearance is illustrative, not evidence of a cooked test.

FT-0865

Sage Chicken Cutlets with Apple-Onion Pan Juices

4 servings; one cutlet and one-quarter of fruit and onion each
15 minutes prep + 20-25 minutes cooking

Allergens: no major allergen intentionally added; verify packaged ingredients.

Ingredients & method

Ingredients

  • 1 pound (454 g) boneless skinless chicken breast, divided into four cutlets about 1/2 inch thick
  • 1 medium apple (about 180 g), cored and thinly sliced
  • 1 small onion, thinly sliced
  • 1 tablespoon olive oil, divided
  • 1 teaspoon chopped fresh sage
  • 1 teaspoon apple cider vinegar
  • 1/3 cup water
  • 1/4 teaspoon black pepper

Method

  1. Read the chicken label for added solution or phosphate ingredients; keep it refrigerated while preparing produce.
  2. Wash apple and sage under running water, then slice the apple and peeled onion on a clean produce board.
  3. Prepare four evenly thick cutlets on a separate raw-poultry surface; wash hands and clean the surface and tools after use.
  4. Heat half the oil in a large skillet over medium heat; add onion and cook for 4 minutes.
  5. Add apple slices and cook for 3 minutes, then transfer fruit and onion to a clean bowl.
  6. Add remaining oil to the skillet; season cutlets with pepper and cook for 3-4 minutes per side.
  7. Return apple and onion to the skillet; add sage, water and vinegar and bring to a simmer.
  8. Simmer for 3-5 minutes or longer as needed; check every cutlet reaches 165 F (74 C) in its thickest part with a clean thermometer.
  9. Use clean serving utensils to divide into four portions, spooning the apple-onion pan juices over each cutlet.
  10. Chill leftovers promptly in shallow containers and follow the storage note.
Dietary notes & storage

Review the chicken portion, apple quantity and measured pan liquid in your protein, carbohydrate, potassium and fluid plan. Not clinically reviewed; no calculated nutrient values or universal kidney-safe claim. Agree portions and product choices with your renal dietitian; do not use potassium-containing salt substitutes.

Storage: Refrigerate perishable leftovers in shallow containers within 2 hours, or 1 hour above 90 F (32 C), at 40 F (4 C) or below. Use within 3-4 days; reheat hot dishes to 165 F (74 C).

Not kitchen-tested · not clinically reviewed

Back to recipe list
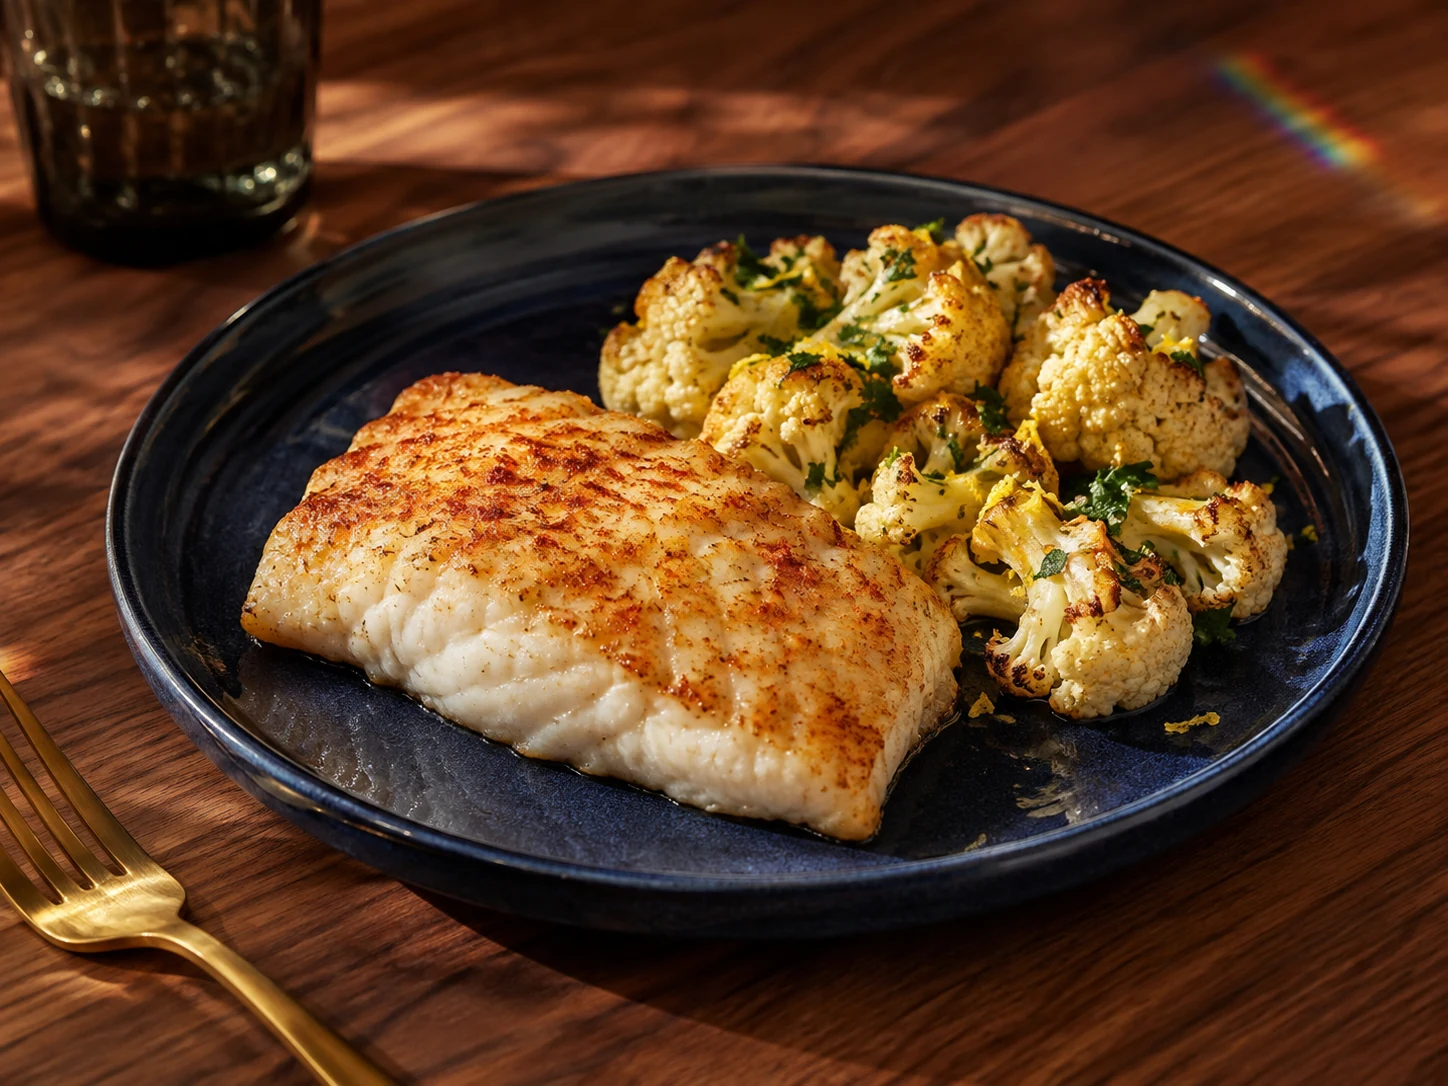
AI illustration of Parsley Turkey Patties with Cucumber Ribbons
AI-generated serving illustration; appearance is illustrative, not evidence of a cooked test.

FT-0866

Parsley Turkey Patties with Cucumber Ribbons

4 servings; two small patties and one-quarter of cucumber each
20 minutes prep + 14-18 minutes cooking

Allergens: egg and wheat; breadcrumbs may contain milk, soy or sesame depending on the product.

Ingredients & method

Ingredients

  • 1 pound (454 g) plain ground turkey
  • 1 large pasteurized egg
  • 1/4 cup (about 20 g) plain dry breadcrumbs
  • 2 tablespoons chopped fresh parsley
  • 1 small garlic clove, minced
  • 1 tablespoon olive oil, divided
  • 1 medium cucumber (about 250 g)
  • 2 teaspoons lemon juice
  • 1/4 teaspoon black pepper

Method

  1. Read turkey and breadcrumb labels for added salt, phosphates and allergens. Keep turkey and egg refrigerated until mixing.
  2. Wash cucumber, parsley and lemon under running water; shave cucumber into ribbons with a peeler, stopping at the watery seed core.
  3. Toss ribbons with lemon juice and 1 teaspoon of the oil; cover and refrigerate while cooking the patties.
  4. In a bowl combine turkey, pasteurized egg, breadcrumbs, parsley, garlic and pepper without overworking; do not taste the raw mixture.
  5. Shape into eight equal patties about 2 1/2 inches across and 1/2 inch thick; wash hands and clean raw-poultry tools.
  6. Warm the remaining 2 teaspoons oil in a nonstick skillet over medium heat; add patties in a single layer, working in batches if needed.
  7. Cook for 5-6 minutes per side, reducing heat if they brown too quickly.
  8. Check every patty reaches 165 F (74 C) in the center, inserting a clean thermometer sideways; continue cooking as needed.
  9. Serve two patties per person with one-quarter of the cold cucumber ribbons, using clean utensils.
  10. Refrigerate remaining patties and cucumber separately and follow the storage note.
Dietary notes & storage

Review turkey, egg and breadcrumb portions and the specific product labels with your renal dietitian. Cucumber does not make the complete plate automatically suitable for every diet. Not clinically reviewed; no calculated nutrient values or universal kidney-safe claim. Agree portions and product choices with your renal dietitian; do not use potassium-containing salt substitutes.

Storage: Refrigerate perishable leftovers in shallow containers within 2 hours, or 1 hour above 90 F (32 C), at 40 F (4 C) or below. Use within 3-4 days; reheat hot dishes to 165 F (74 C).

Not kitchen-tested · not clinically reviewed

Back to recipe list
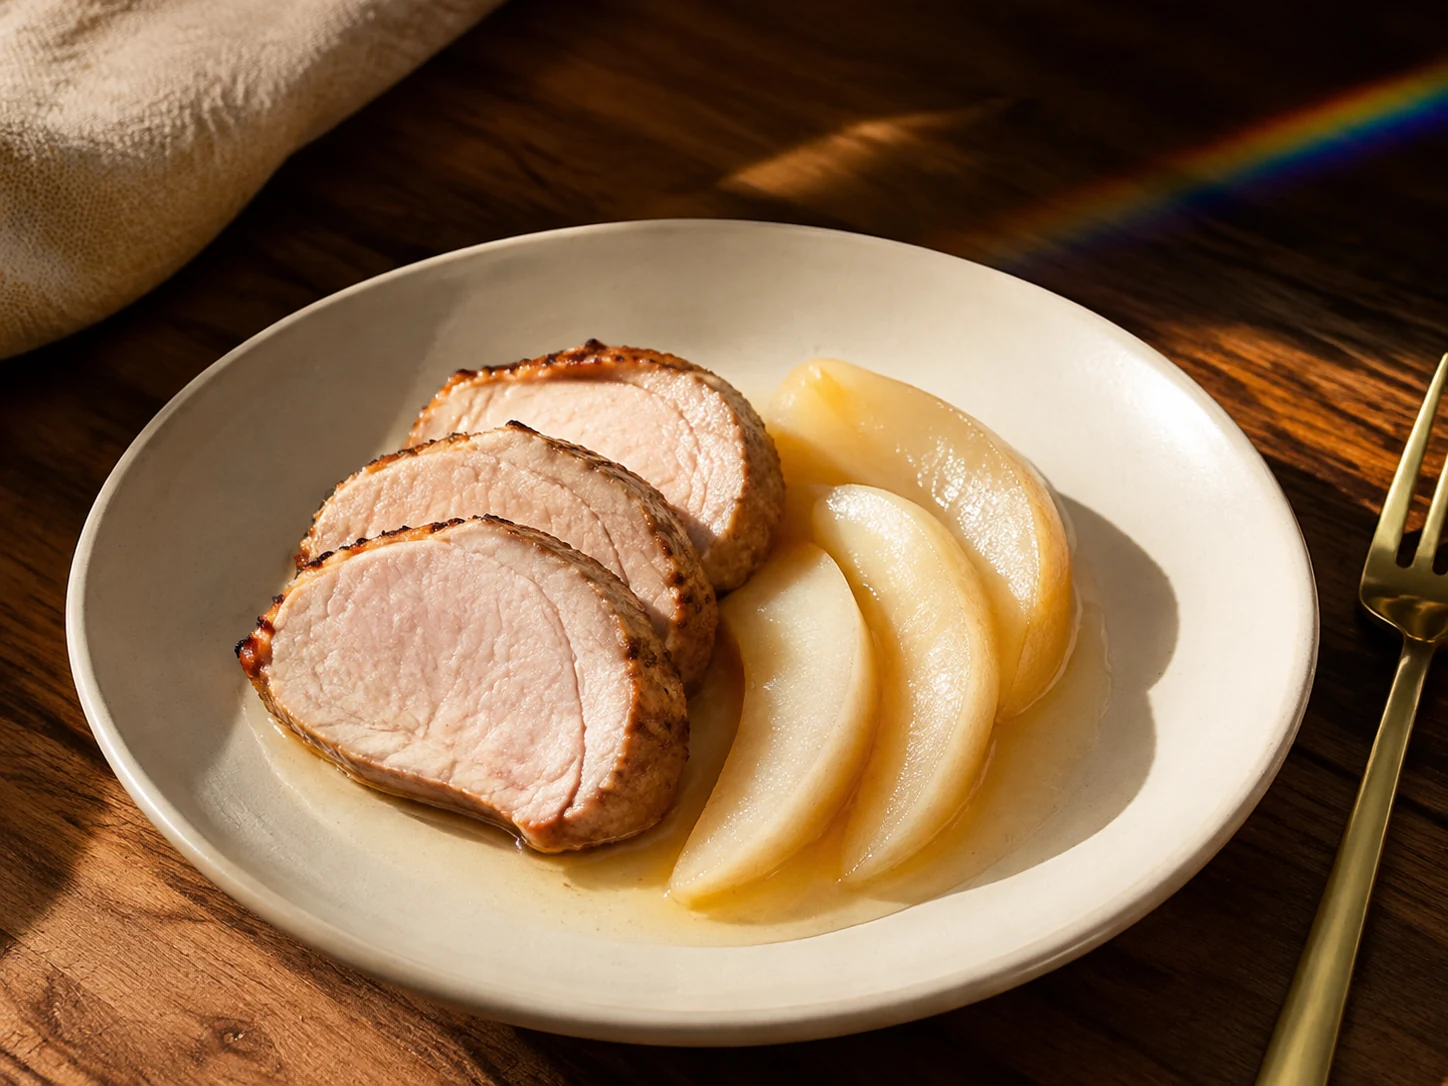
AI illustration of Lemon-Paprika Haddock with Roasted Cauliflower
AI-generated serving illustration; appearance is illustrative, not evidence of a cooked test.

FT-0867

Lemon-Paprika Haddock with Roasted Cauliflower

4 servings; one fillet and one-quarter of cauliflower each
15 minutes prep + 25-30 minutes baking

Allergens: fish (haddock).

Ingredients & method

Ingredients

  • 1 pound (454 g) haddock, divided into four fillets, thawed in the refrigerator if frozen
  • 3 cups (about 300 g) small cauliflower florets
  • 1 tablespoon olive oil, divided
  • 1/2 teaspoon sweet paprika
  • 1 teaspoon finely grated lemon zest
  • 1 tablespoon lemon juice
  • 1 tablespoon chopped fresh parsley
  • 1/4 teaspoon black pepper

Method

  1. Heat the oven to 425 F (218 C). Read fish labels for added solutions or phosphate ingredients.
  2. Wash cauliflower, lemon and parsley under running water; cut florets into roughly one-inch pieces.
  3. Toss cauliflower with 2 teaspoons oil and half the pepper on a rimmed baking sheet.
  4. Roast for 12 minutes, then turn the florets with a spatula.
  5. On a separate raw-fish surface, arrange chilled haddock in a small baking dish; wash hands after handling.
  6. Brush fish with the remaining teaspoon oil and sprinkle with paprika and the remaining pepper.
  7. Put the fish dish in the oven alongside the cauliflower; bake for 12-16 minutes, adjusting for fillet thickness.
  8. Verify every fillet reaches 145 F (63 C) with a clean thermometer; continue roasting cauliflower until tender with browned edges.
  9. Divide fish and cauliflower among four plates; finish with the measured lemon juice, zest and parsley.
  10. Refrigerate leftovers promptly and follow the storage note.
Dietary notes & storage

Review the haddock product, fish portion and cauliflower quantity against your individual protein, phosphorus and potassium plan. Not clinically reviewed; no calculated nutrient values or universal kidney-safe claim. Agree portions and product choices with your renal dietitian; do not use potassium-containing salt substitutes.

Storage: Refrigerate perishable leftovers in shallow containers within 2 hours, or 1 hour above 90 F (32 C), at 40 F (4 C) or below. Use within 3-4 days; reheat hot dishes to 165 F (74 C).

Not kitchen-tested · not clinically reviewed

Back to recipe list
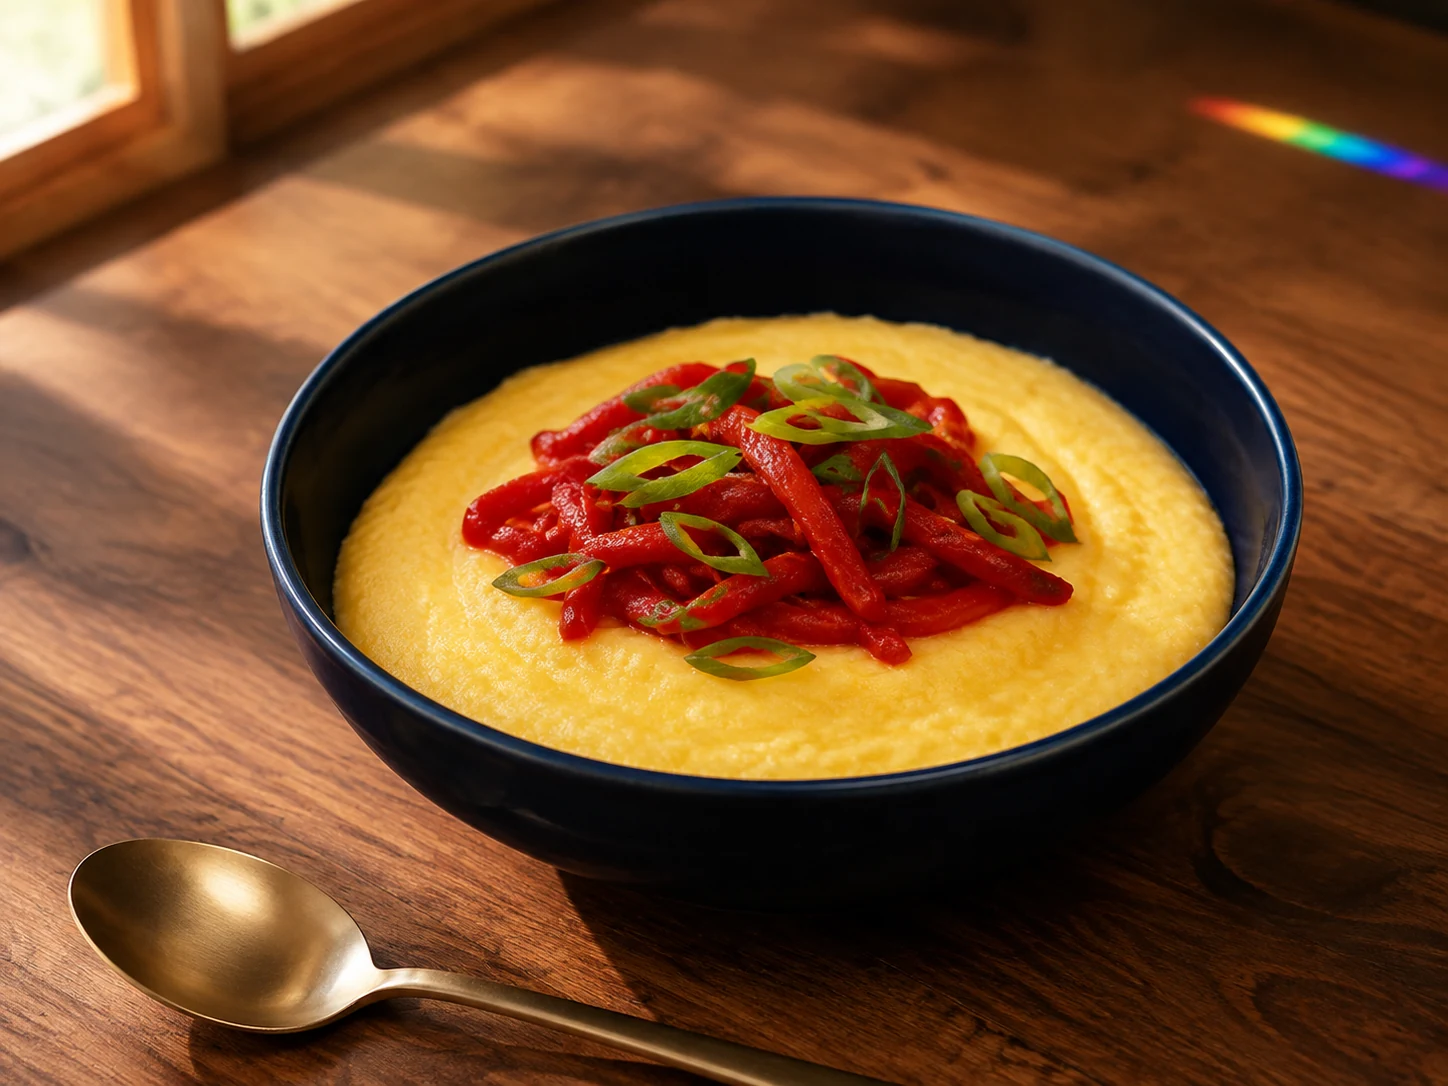
AI illustration of Ginger Pork Tenderloin with Warm Pear Slices
AI-generated serving illustration; appearance is illustrative, not evidence of a cooked test.

FT-0868

Ginger Pork Tenderloin with Warm Pear Slices

4 servings; one-quarter of sliced tenderloin and pear each
15 minutes prep + 25-35 minutes roasting + at least 3 minutes rest; pears cook during roasting

Allergens: no major allergen intentionally added; verify pork and vinegar labels.

Ingredients & method

Ingredients

  • 1 small whole pork tenderloin, about 1 pound (454 g), unseasoned
  • 1 medium firm pear (about 180 g), cored and sliced
  • 1 tablespoon olive oil, divided
  • 1 teaspoon finely grated fresh ginger
  • 1 teaspoon rice vinegar
  • 2 tablespoons water
  • 1/4 teaspoon black pepper

Method

  1. Heat the oven to 400 F (204 C). Check the pork label for brine, added salt or phosphate ingredients.
  2. Wash pear and ginger under running water; slice pear and grate peeled ginger using clean produce tools.
  3. Keep pork whole for a reliable center-temperature check; place it in a small roasting pan on a separate raw-meat surface.
  4. Rub pork with 2 teaspoons oil, half the ginger and pepper; wash hands and clean raw-meat tools.
  5. Roast for 25-35 minutes, beginning temperature checks at 20 minutes because size and ovens vary.
  6. Meanwhile warm the remaining teaspoon oil in a skillet; cook pear slices over medium heat for 4 minutes.
  7. Add remaining ginger, rice vinegar and water to the pears; simmer for 2-3 minutes until just tender.
  8. Check the thickest center of the whole tenderloin reaches at least 145 F (63 C), then rest it for at least 3 minutes before cutting.
  9. Using a clean board and knife, slice the rested pork and divide into four portions with warm pears and their juices.
  10. Refrigerate leftovers promptly in shallow containers and follow the storage note.
Dietary notes & storage

Review pork product labels and the meat, pear and pan-liquid portions within your own protein, phosphorus, potassium and carbohydrate plan. Not clinically reviewed; no calculated nutrient values or universal kidney-safe claim. Agree portions and product choices with your renal dietitian; do not use potassium-containing salt substitutes.

Storage: Refrigerate perishable leftovers in shallow containers within 2 hours, or 1 hour above 90 F (32 C), at 40 F (4 C) or below. Use within 3-4 days; reheat hot dishes to 165 F (74 C).

Not kitchen-tested · not clinically reviewed

Back to recipe list
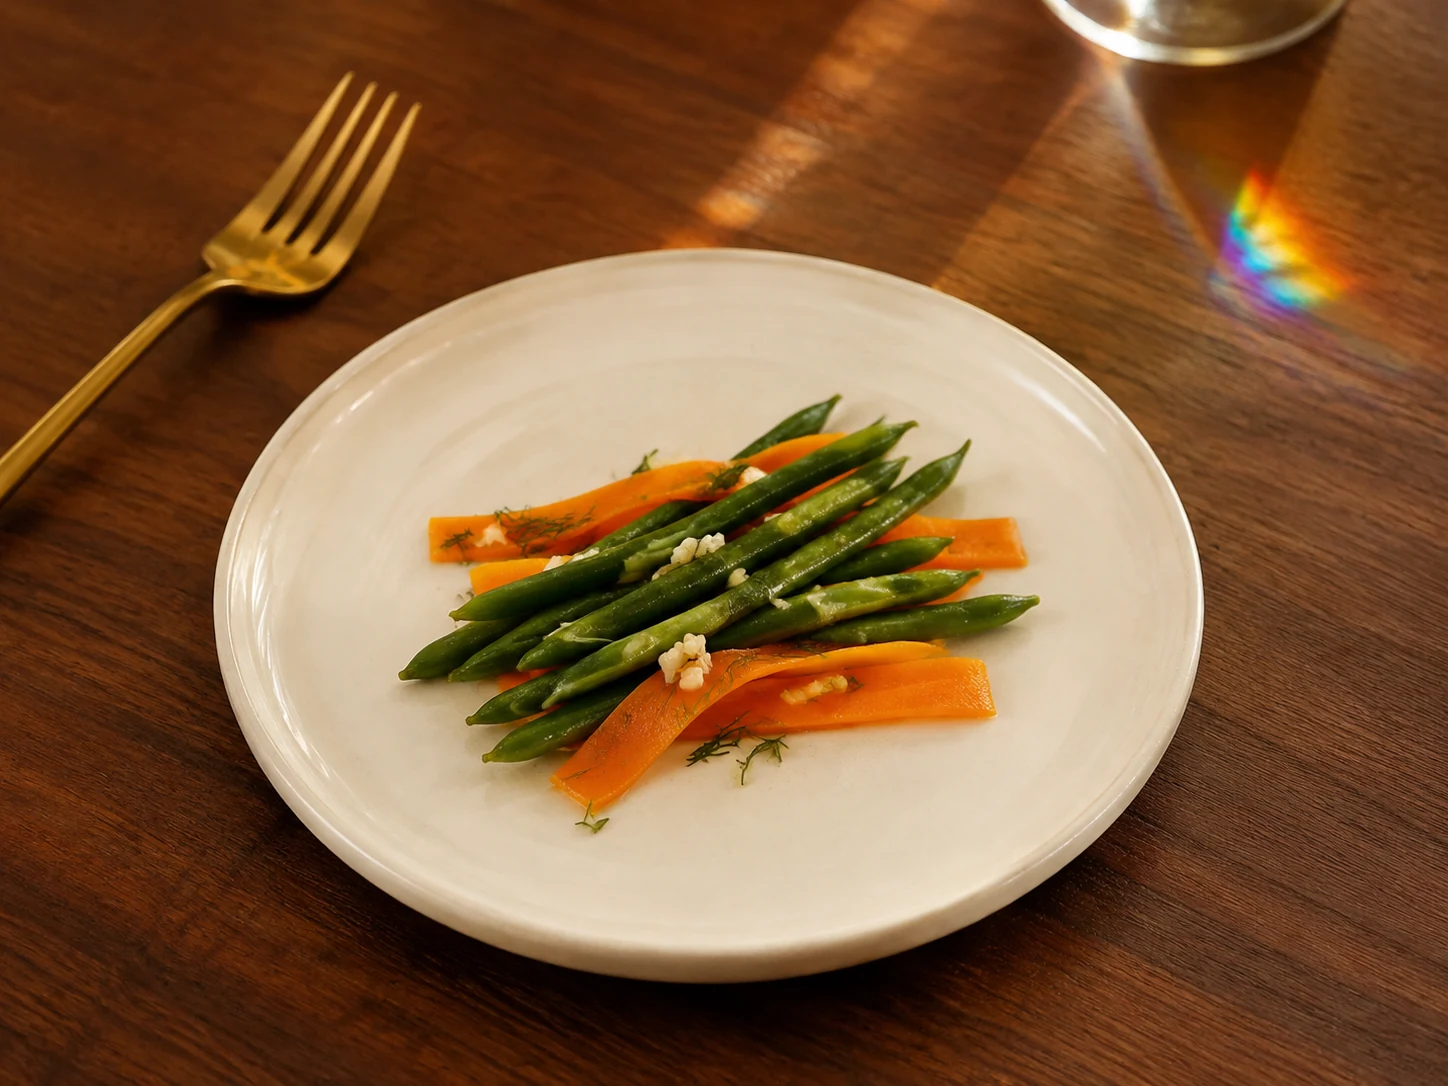
AI illustration of Roasted Pepper & Scallion Polenta Bowls
AI-generated serving illustration; appearance is illustrative, not evidence of a cooked test.

FT-0869

Roasted Pepper & Scallion Polenta Bowls

4 side servings; one-quarter of polenta and peppers each
15 minutes prep + 30-40 minutes cooking, with overlapping steps

Allergens: no major allergen intentionally added; verify cornmeal packaging and cross-contact information.

Ingredients & method

Ingredients

  • 1/2 cup (80 g) ordinary yellow cornmeal, not instant
  • 2 cups water, plus up to 1/4 cup hot water only if needed
  • 1 medium red bell pepper, cut into strips
  • 2 scallions, finely sliced
  • 1 tablespoon olive oil, divided
  • 1/4 teaspoon black pepper

Method

  1. Read the cornmeal label for allergens and preparation directions; heat the oven to 425 F (218 C).
  2. Wash pepper and scallions under running water; remove pepper seeds and cut it into thin strips.
  3. Toss pepper strips with 1 teaspoon oil on a rimmed baking sheet.
  4. Roast for 18-22 minutes, turning once, until soft and lightly browned at the edges.
  5. Meanwhile bring 2 cups water to a gentle boil in a heavy saucepan.
  6. Whisk in cornmeal slowly, then reduce heat to low; stir frequently to prevent lumps and sticking.
  7. Cook for 25-35 minutes or the package-directed time until smooth and tender; add a little of the optional hot water only if too thick.
  8. Stir remaining 2 teaspoons oil and pepper into polenta; fold half the scallions into the roasted pepper strips.
  9. Divide polenta among four small bowls; top each with one-quarter of peppers and the remaining scallions.
  10. Refrigerate leftovers promptly in shallow containers and follow the storage note.
Dietary notes & storage

Polenta contributes carbohydrate and substantial cooking water. Review its portion and the pepper quantity with your renal dietitian; no nutrient or fluid allowance is inferred. Not clinically reviewed; no calculated nutrient values or universal kidney-safe claim. Agree portions and product choices with your renal dietitian; do not use potassium-containing salt substitutes.

Storage: Refrigerate perishable leftovers in shallow containers within 2 hours, or 1 hour above 90 F (32 C), at 40 F (4 C) or below. Use within 3-4 days; reheat hot dishes to 165 F (74 C).

Not kitchen-tested · not clinically reviewed

Back to recipe list
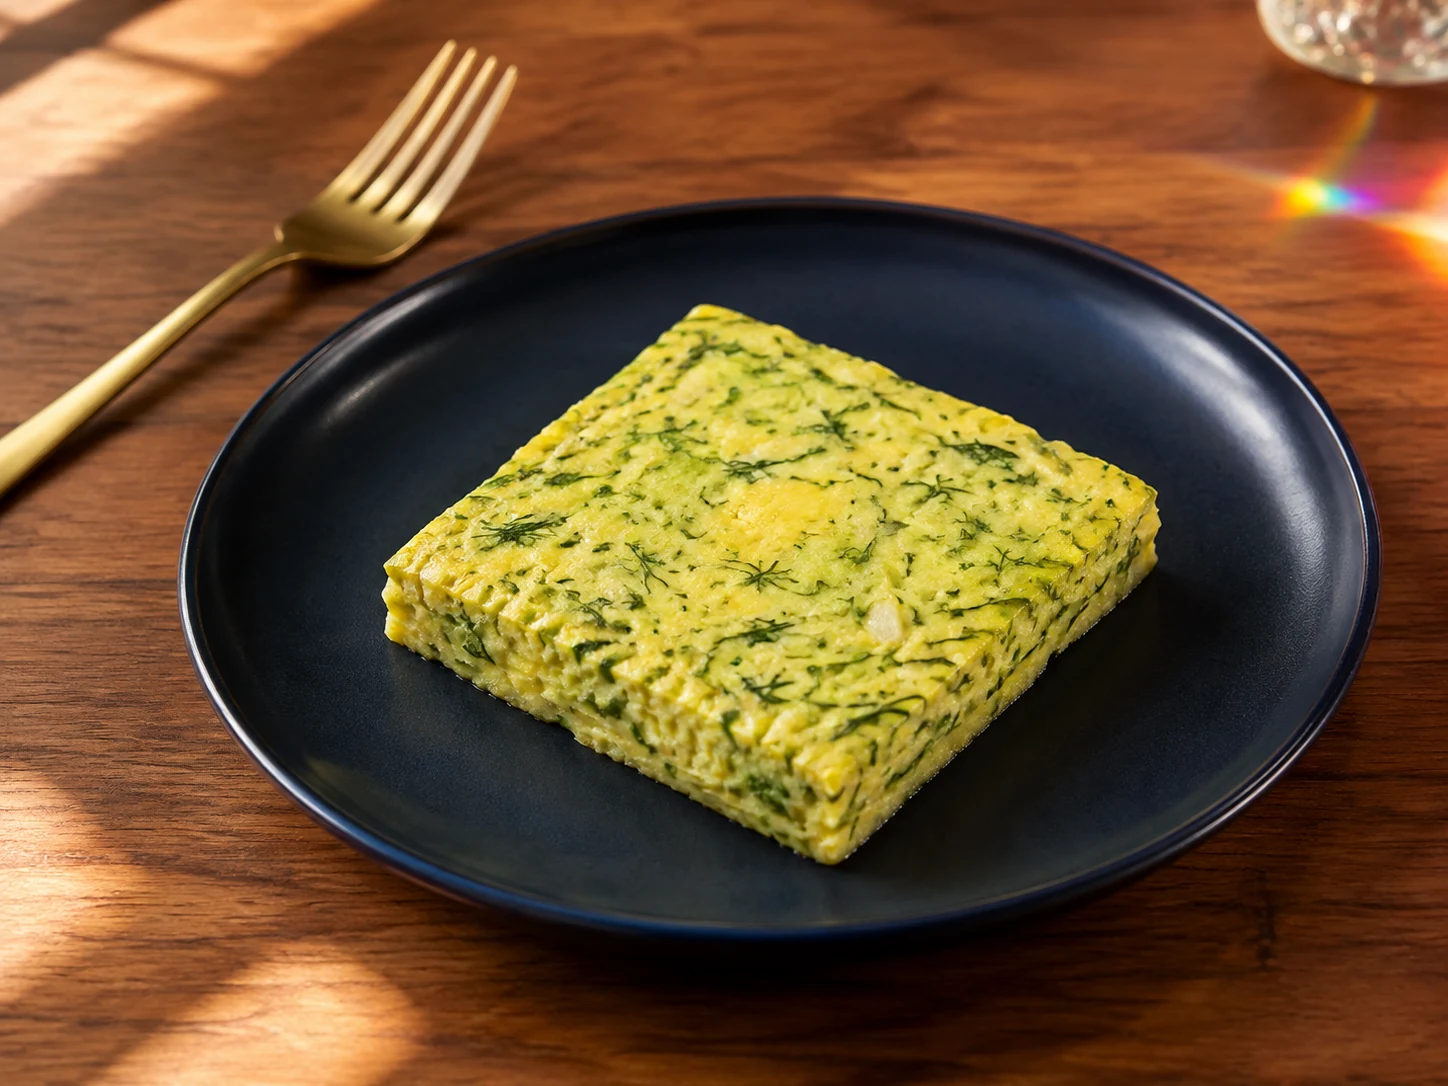
AI illustration of Green Bean & Carrot Ribbon Skillet
AI-generated serving illustration; appearance is illustrative, not evidence of a cooked test.

FT-0870

Green Bean & Carrot Ribbon Skillet

4 side servings; one-quarter of vegetables each
15 minutes prep + 10-12 minutes cooking

Allergens: no major allergen intentionally added; verify packaged ingredients.

Ingredients & method

Ingredients

  • 8 ounces (227 g) fresh green beans, trimmed
  • 2 medium carrots (about 150 g)
  • 1 tablespoon olive oil
  • 1 small garlic clove, minced
  • 2 tablespoons water
  • 1 teaspoon lemon juice
  • 1 teaspoon chopped fresh dill
  • 1/4 teaspoon black pepper

Method

  1. Read any packaged ingredient labels and set out a large skillet with a lid.
  2. Wash beans, carrots, lemon and dill under running water; trim beans and peel carrots into wide ribbons.
  3. Mince peeled garlic and chop dill on a clean produce board.
  4. Heat olive oil in the skillet over medium heat and add beans.
  5. Cook beans for 3 minutes, stirring to coat and lightly color them.
  6. Add water, cover and cook for 4 minutes, until beans begin to soften.
  7. Uncover, add carrot ribbons and garlic, and stir gently for 2-3 minutes.
  8. Continue until beans are tender to your preference and carrot ribbons have softened; keep garlic from scorching.
  9. Remove from heat, add lemon juice, dill and pepper, and divide into four side portions.
  10. Chill leftovers promptly and follow the storage note.
Dietary notes & storage

Review both vegetable quantities and the portion in your personal potassium plan. This side is not a complete meal or a measured low-potassium formulation. Not clinically reviewed; no calculated nutrient values or universal kidney-safe claim. Agree portions and product choices with your renal dietitian; do not use potassium-containing salt substitutes.

Storage: Refrigerate perishable leftovers in shallow containers within 2 hours, or 1 hour above 90 F (32 C), at 40 F (4 C) or below. Use within 3-4 days; reheat hot dishes to 165 F (74 C).

Not kitchen-tested · not clinically reviewed

Back to recipe list
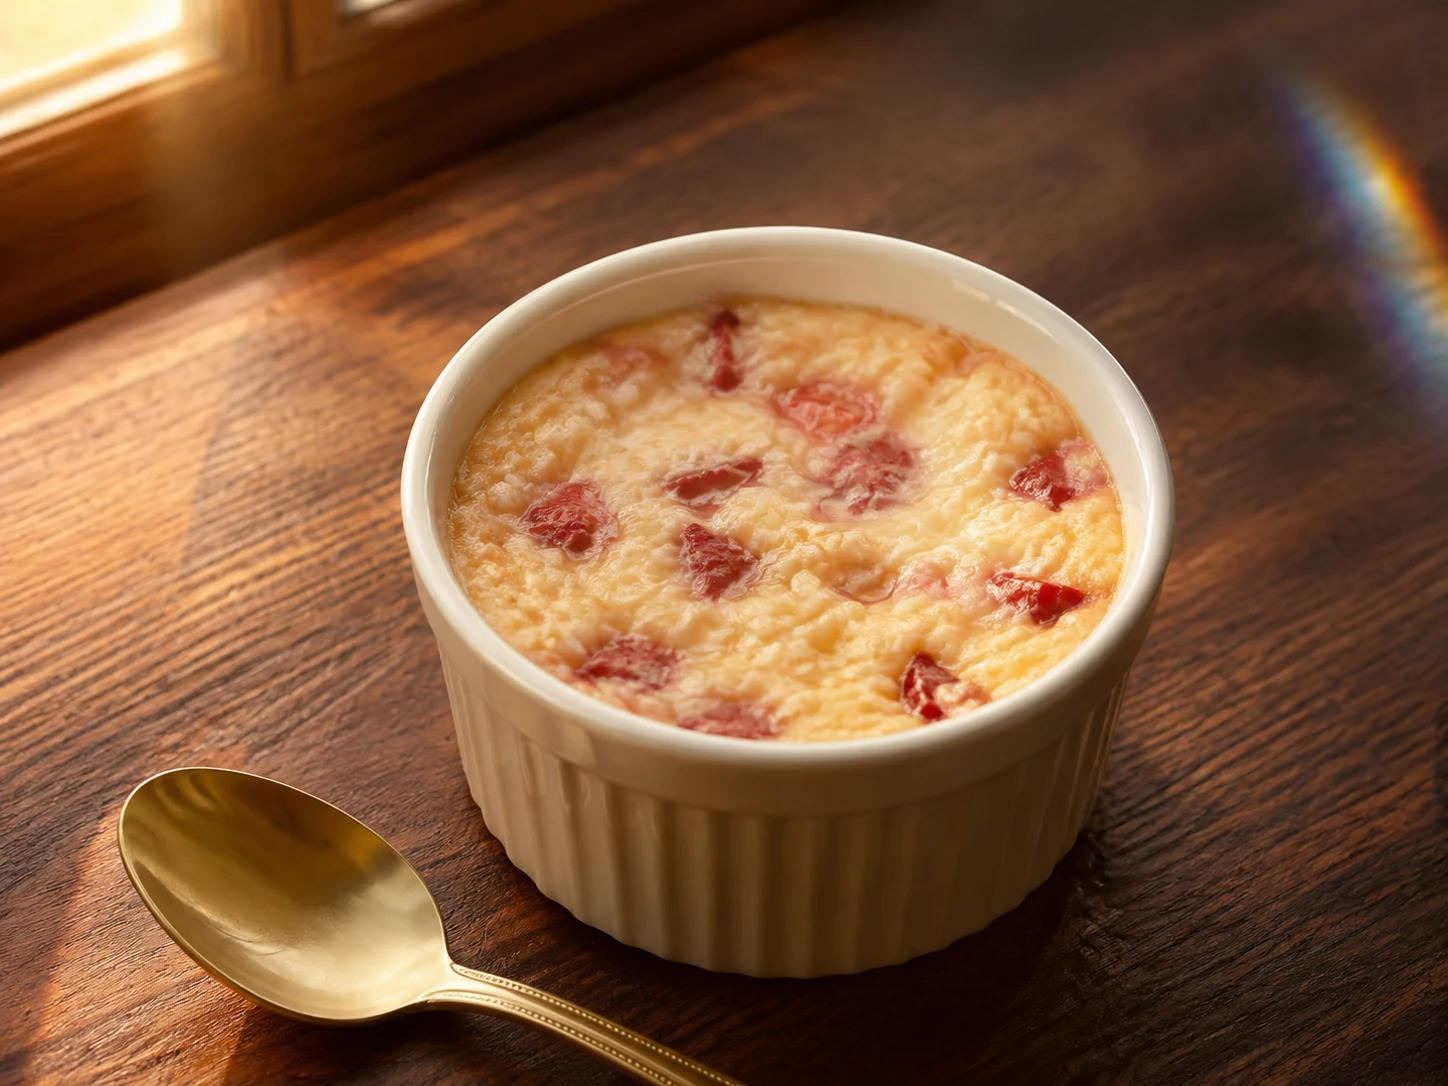
AI illustration of Zucchini & Dill Egg Squares
AI-generated serving illustration; appearance is illustrative, not evidence of a cooked test.

FT-0871

Zucchini & Dill Egg Squares

4 servings; one-quarter of an 8-inch-square bake each
15 minutes prep + 8 minutes skillet cooking + 20-28 minutes baking + 5 minutes rest

Allergens: egg and milk.

Ingredients & method

Ingredients

  • 6 large pasteurized eggs
  • 1 small zucchini (about 180 g), grated
  • 1 small onion, finely diced
  • 2 tablespoons pasteurized milk
  • 1 tablespoon chopped fresh dill
  • 2 teaspoons olive oil, divided
  • 1/4 teaspoon black pepper

Method

  1. Heat the oven to 350 F (177 C). Read egg and milk labels; grease an 8-inch-square dish with 1 teaspoon oil.
  2. Wash zucchini and dill under running water, then grate zucchini and dice peeled onion on a clean board.
  3. Warm the remaining teaspoon oil in a skillet over medium heat; cook onion for 3 minutes.
  4. Add zucchini and cook for 5 minutes, stirring until visible liquid mostly evaporates.
  5. Spread vegetables in the baking dish and let them cool briefly while mixing the eggs.
  6. Whisk pasteurized eggs, milk, dill and pepper in a clean bowl; do not taste the uncooked mixture.
  7. Pour egg mixture over the vegetables and distribute them evenly with a clean fork.
  8. Bake for 20-28 minutes until the center reaches 165 F (74 C) with a clean thermometer and no liquid egg remains.
  9. Rest for 5 minutes, then cut into four equal squares and serve one per person.
  10. Refrigerate leftovers promptly and follow the storage note.
Dietary notes & storage

Review the six-egg batch, milk and zucchini amounts and your chosen portion within your protein, phosphorus, potassium and fluid plan. Not clinically reviewed; no calculated nutrient values or universal kidney-safe claim. Agree portions and product choices with your renal dietitian; do not use potassium-containing salt substitutes.

Storage: Refrigerate perishable leftovers in shallow containers within 2 hours, or 1 hour above 90 F (32 C), at 40 F (4 C) or below. Use within 3-4 days; reheat hot dishes to 165 F (74 C).

Not kitchen-tested · not clinically reviewed

Back to recipe list
AI illustration of Strawberry-Vanilla Baked Rice Cups
AI-generated serving illustration; appearance is illustrative, not evidence of a cooked test.

FT-0872

Strawberry-Vanilla Baked Rice Cups

4 small servings; one ramekin each
15 minutes prep + 25-35 minutes baking + 10 minutes rest; cooked rice required

Allergens: egg and milk.

Ingredients & method

Ingredients

  • 1 cup cooked white rice, promptly chilled after cooking and kept refrigerated
  • 1 cup (about 150 g) hulled fresh strawberries, cut into small pieces
  • 1 large pasteurized egg
  • 3/4 cup pasteurized milk
  • 1 tablespoon sugar
  • 1/2 teaspoon vanilla extract
  • 1 teaspoon olive oil for the ramekins

Method

  1. Use rice with a known safe refrigeration history and within its storage period; discard rice with uncertain time or temperature history.
  2. Heat the oven to 350 F (177 C); grease four oven-safe 6-ounce ramekins with the measured oil and place them on a baking tray.
  3. Wash strawberries under running water before hulling and cutting into small pieces.
  4. Break up chilled rice with a fork and divide it equally among the ramekins.
  5. Divide strawberry pieces among the cups and gently mix with the rice.
  6. Whisk pasteurized egg, milk, sugar and vanilla in a clean bowl; do not taste the uncooked custard.
  7. Divide the custard evenly among the four ramekins and stir each gently to distribute it.
  8. Bake for 25-35 minutes, checking each center reaches 165 F (74 C) and custard is set; continue as needed.
  9. Let stand for 10 minutes before serving one warm cup per person; ramekins remain hot.
  10. Refrigerate leftovers promptly and follow the storage note.
Dietary notes & storage

Review rice, strawberries, added sugar, egg and milk amounts against your carbohydrate, phosphorus, protein and fluid plan. Treat the recipe as a dessert idea with individually agreed portions. Not clinically reviewed; no calculated nutrient values or universal kidney-safe claim. Agree portions and product choices with your renal dietitian; do not use potassium-containing salt substitutes.

Storage: Refrigerate perishable leftovers in shallow containers within 2 hours, or 1 hour above 90 F (32 C), at 40 F (4 C) or below. Use within 3-4 days; reheat hot dishes to 165 F (74 C).

Not kitchen-tested · not clinically reviewed

Back to recipe list
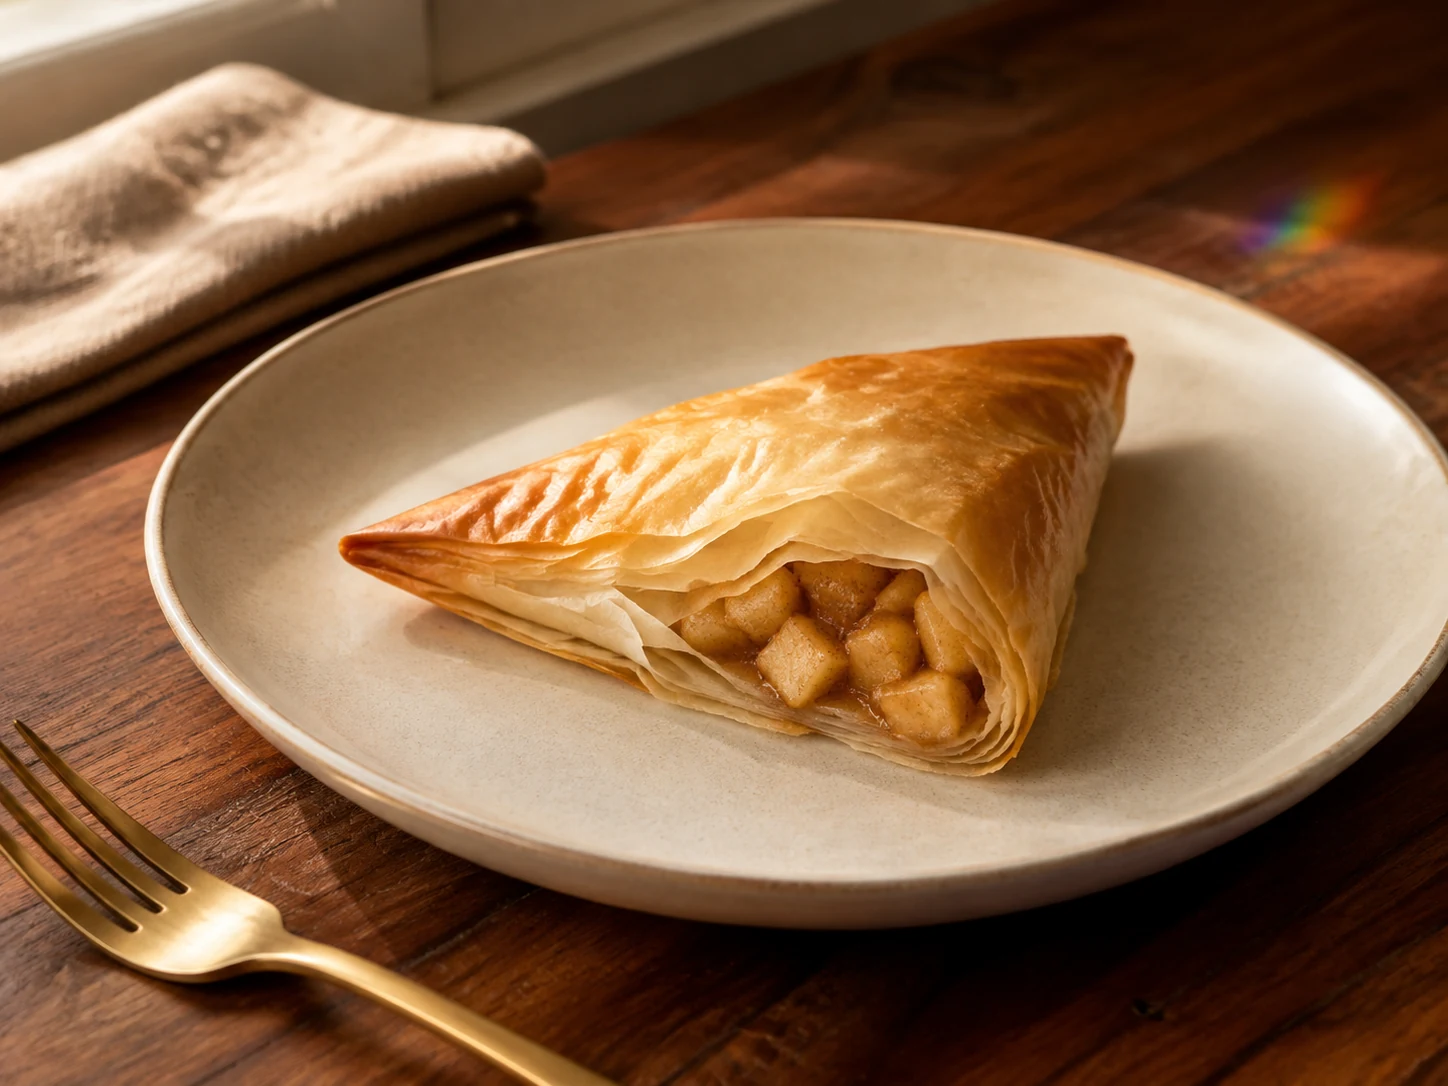
AI illustration of Apple-Cinnamon Phyllo Pockets
AI-generated serving illustration; appearance is illustrative, not evidence of a cooked test.

FT-0873

Apple-Cinnamon Phyllo Pockets

4 servings; one triangular pocket each
20 minutes prep + 7 minutes filling cooking + 15 minutes cooling + 18-22 minutes baking + 5 minutes rest; phyllo thawing additional

Allergens: wheat; check phyllo for other allergens such as soy or milk.

Ingredients & method

Ingredients

  • 4 rectangular phyllo sheets, about 9 by 14 inches each, thawed in the refrigerator according to the package
  • 1 medium apple (about 180 g), peeled, cored and finely diced
  • 2 teaspoons sugar
  • 1/2 teaspoon cinnamon
  • 1 teaspoon lemon juice
  • 1 tablespoon water
  • 1 tablespoon olive oil, divided

Method

  1. Thaw phyllo according to its package and keep it covered to prevent drying; read its allergen and sodium information.
  2. Wash apple and lemon under running water before peeling, coring and finely dicing the apple.
  3. Combine apple, sugar, cinnamon, lemon juice and water in a small skillet over medium heat.
  4. Cook for 5-7 minutes, stirring until apple softens and most liquid evaporates; spread in a shallow dish and cool for about 15 minutes.
  5. Heat the oven to 375 F (191 C) and line a baking tray with parchment.
  6. Lay out one phyllo sheet, brush lightly with some measured oil, then fold lengthwise into thirds to make a long strip.
  7. Place one-quarter of the cooled filling near one end; fold a corner over it to form a triangle, continuing triangular folds to the end.
  8. Repeat with the remaining sheets and filling; brush pocket tops lightly with the remaining oil.
  9. Bake for 18-22 minutes or the package-directed bake until layers are crisp and golden; do not taste uncooked pastry.
  10. Rest for 5 minutes before serving one pocket each; refrigerate leftovers promptly and follow the storage note.
Dietary notes & storage

Review the phyllo product and one-pocket portion, especially sodium, carbohydrate and added-sugar considerations. No calculated nutrient claim is provided. Not clinically reviewed; no calculated nutrient values or universal kidney-safe claim. Agree portions and product choices with your renal dietitian; do not use potassium-containing salt substitutes.

Storage: Refrigerate perishable leftovers in shallow containers within 2 hours, or 1 hour above 90 F (32 C), at 40 F (4 C) or below. Use within 3-4 days; reheat hot dishes to 165 F (74 C).

Not kitchen-tested · not clinically reviewed

Back to recipe list
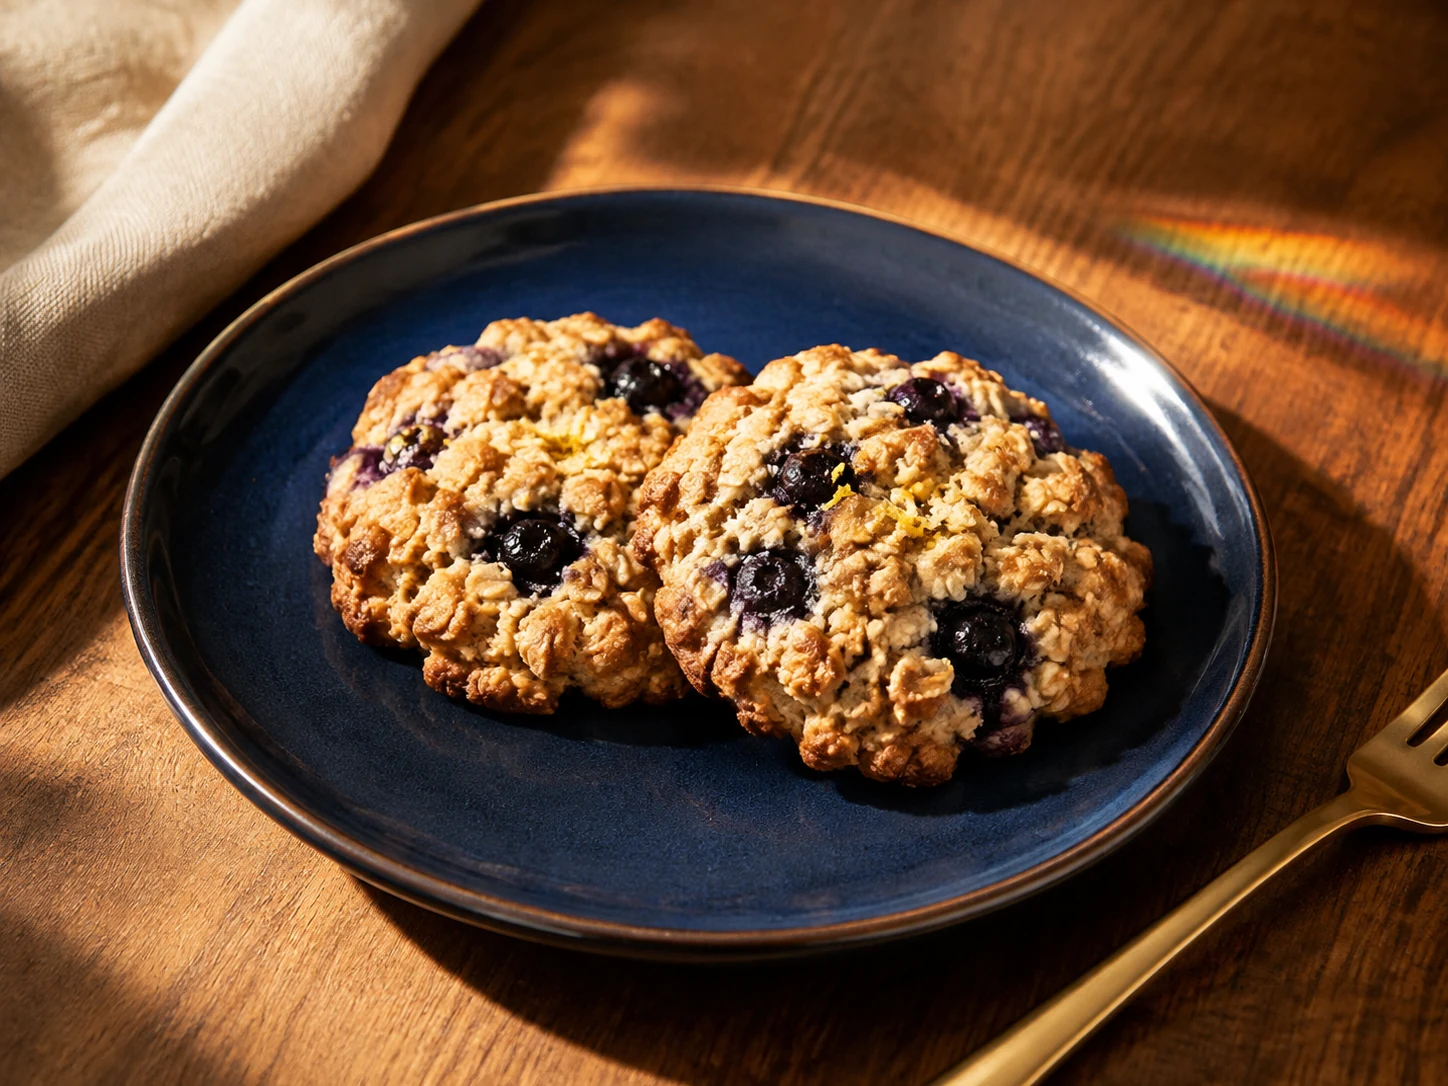
AI illustration of Blueberry-Lemon Oat Drop Cookies
AI-generated serving illustration; appearance is illustrative, not evidence of a cooked test.

FT-0874

Blueberry-Lemon Oat Drop Cookies

6 servings; two cookies each from twelve
15 minutes prep + 14-18 minutes baking + 15 minutes cooling

Allergens: wheat, egg and milk; verify oat packaging for cross-contact.

Ingredients & method

Ingredients

  • 1/2 cup (60 g) all-purpose flour
  • 1/2 cup (45 g) rolled oats
  • 1/4 teaspoon baking powder
  • 3 tablespoons (43 g) unsalted butter made from pasteurized milk, softened
  • 1/4 cup (50 g) sugar
  • 1 large pasteurized egg
  • 1/2 teaspoon vanilla extract
  • 1/2 teaspoon finely grated lemon zest
  • 1/3 cup (about 50 g) fresh blueberries

Method

  1. Heat the oven to 350 F (177 C) and line a baking sheet with parchment; read flour, oats, butter and baking-powder labels.
  2. Wash blueberries and lemon under running water; dry berries gently and grate the measured zest.
  3. Mix flour, rolled oats and baking powder in a bowl.
  4. In a second bowl beat softened butter and sugar until creamy, about 2 minutes.
  5. Beat in pasteurized egg, vanilla and lemon zest until combined.
  6. Stir dry ingredients into the wet mixture, then fold in blueberries gently; do not taste the raw dough.
  7. Drop twelve equal mounds on the baking sheet with at least 2 inches between them; flatten slightly with a spoon.
  8. Bake for 14-18 minutes until edges are golden, tops are set and centers have no wet dough; rotate the tray if needed.
  9. Cool on the tray for 5 minutes, then move to a rack for 10 minutes; serve two cookies per portion.
  10. Once fully cool, pack extras in a covered container; refrigerate and use within 3-4 days for a conservative home-storage plan, or freeze in a labeled airtight container.
Dietary notes & storage

Review oats, flour, baking powder, butter and sugar quantities with your renal dietitian; the two-cookie portion is a culinary yield, not a nutritional prescription. Not clinically reviewed; no calculated nutrient values or universal kidney-safe claim. Agree portions and product choices with your renal dietitian; do not use potassium-containing salt substitutes.

Storage: Cool completely before packing in a covered container. Refrigerate and use within 3-4 days for a conservative home-storage plan, or freeze in a labeled airtight container. This is not a tested shelf-life claim.

Not kitchen-tested · not clinically reviewed

Back to recipe list

Sources & review boundaries

These primary sources inform food handling and individual dietary planning. They do not endorse, test or provide the formulations on this page. Recipe text and serving illustrations were created for NorthStar Prime.