← Digital MasterCook Book

NorthStar Prime · Fantasy Table · Wave 097

Crisp Edges &
Cozy Suppers

Ten new recipes for the everyday table: golden cabbage edges, savory hand pies, bright citrus seafood, and small fruit-forward treats. Each recipe includes measured ingredients, a portion guide and a complete method.

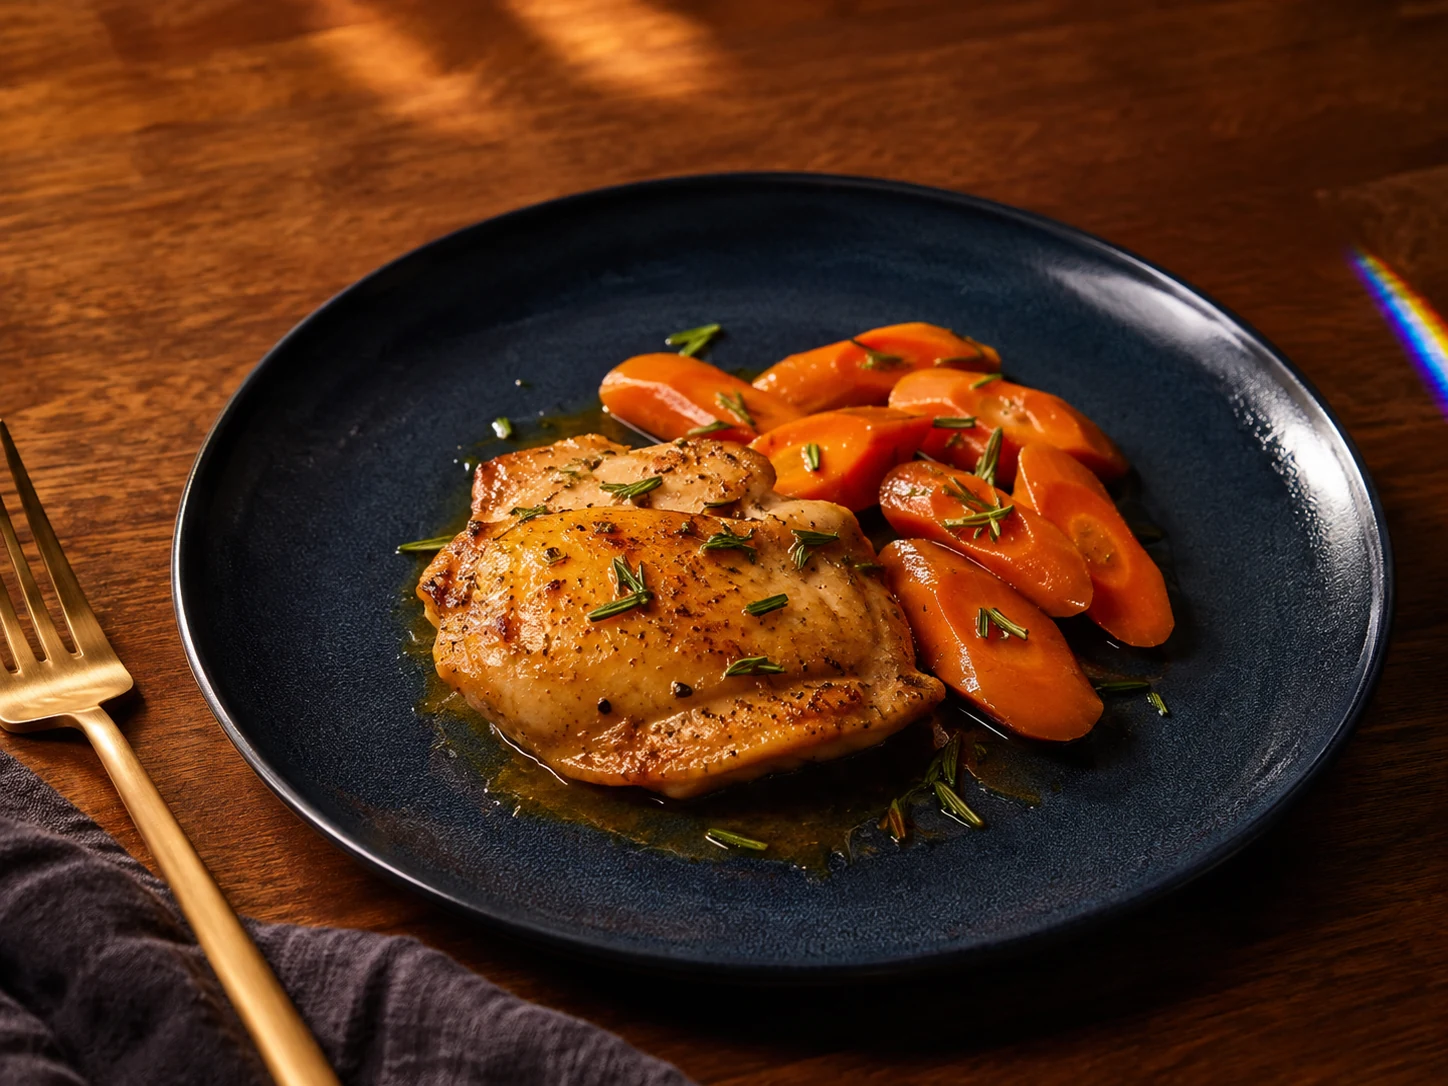
AI illustration of Orange-Rosemary Chicken & Carrot Traybake
AI-generated serving illustration; appearance is illustrative, not evidence of a cooked test.

FT-0855

Orange-Rosemary Chicken & Carrot Traybake

4 servings; one thigh and one-quarter of carrots each
15 minutes prep + 25-35 minutes roasting + 3 minutes rest

Allergens: no major allergen intentionally added; verify chicken and packaged ingredient labels.

Ingredients & method

Ingredients

  • 4 boneless skinless chicken thighs, about 1 pound (454 g) total
  • 4 medium carrots (about 300 g), cut into 1/4-inch diagonal slices
  • 1 small orange, washed; use 1 teaspoon zest and 2 tablespoons juice
  • 1 tablespoon olive oil
  • 1 teaspoon finely chopped fresh rosemary
  • 1 garlic clove, minced
  • 1/4 teaspoon black pepper

Method

  1. Heat the oven to 425 F (218 C). Check the chicken label for added solution or phosphates; keep the thighs refrigerated while preparing produce.
  2. Wash carrots, orange and rosemary under running water. Slice carrots, grate the orange zest and squeeze the measured juice on a clean produce surface.
  3. Mix the olive oil, orange zest, juice, rosemary, garlic and pepper in a bowl.
  4. Toss the carrots with half the mixture and spread them on a rimmed baking sheet.
  5. On a separate raw-poultry surface, pat the skinless thighs dry and coat with the remaining mixture. Wash hands and clean utensils after raw-poultry contact.
  6. Set the thighs among the carrots with space between pieces; roast for 15 minutes.
  7. Turn the carrots with a utensil reserved for this cooking stage and roast for another 10-20 minutes, until carrots are tender.
  8. Check the thickest part of each thigh reaches at least 165 F (74 C) with a clean thermometer; extend cooking as needed.
  9. Rest briefly, then use clean serving utensils to plate one thigh and one-quarter of the carrots per person.
  10. Refrigerate leftovers promptly in shallow containers; follow the storage note.
Dietary notes & storage

Review the chicken portion, carrot quantity and measured orange juice against your own protein, potassium and carbohydrate plan. Citrus is used for flavor; no sodium or potassium level is calculated. Not clinically reviewed; no universal kidney-safe claim or calculated nutrient values. Agree portions and ingredient choices with your renal dietitian. Do not substitute potassium-containing salt.

Storage: Refrigerate leftovers in shallow containers within 2 hours, or 1 hour above 90 F (32 C), at 40 F (4 C) or below. Use within 3-4 days; reheat hot dishes to 165 F (74 C).

Not kitchen-tested · not clinically reviewed

Back to recipe list
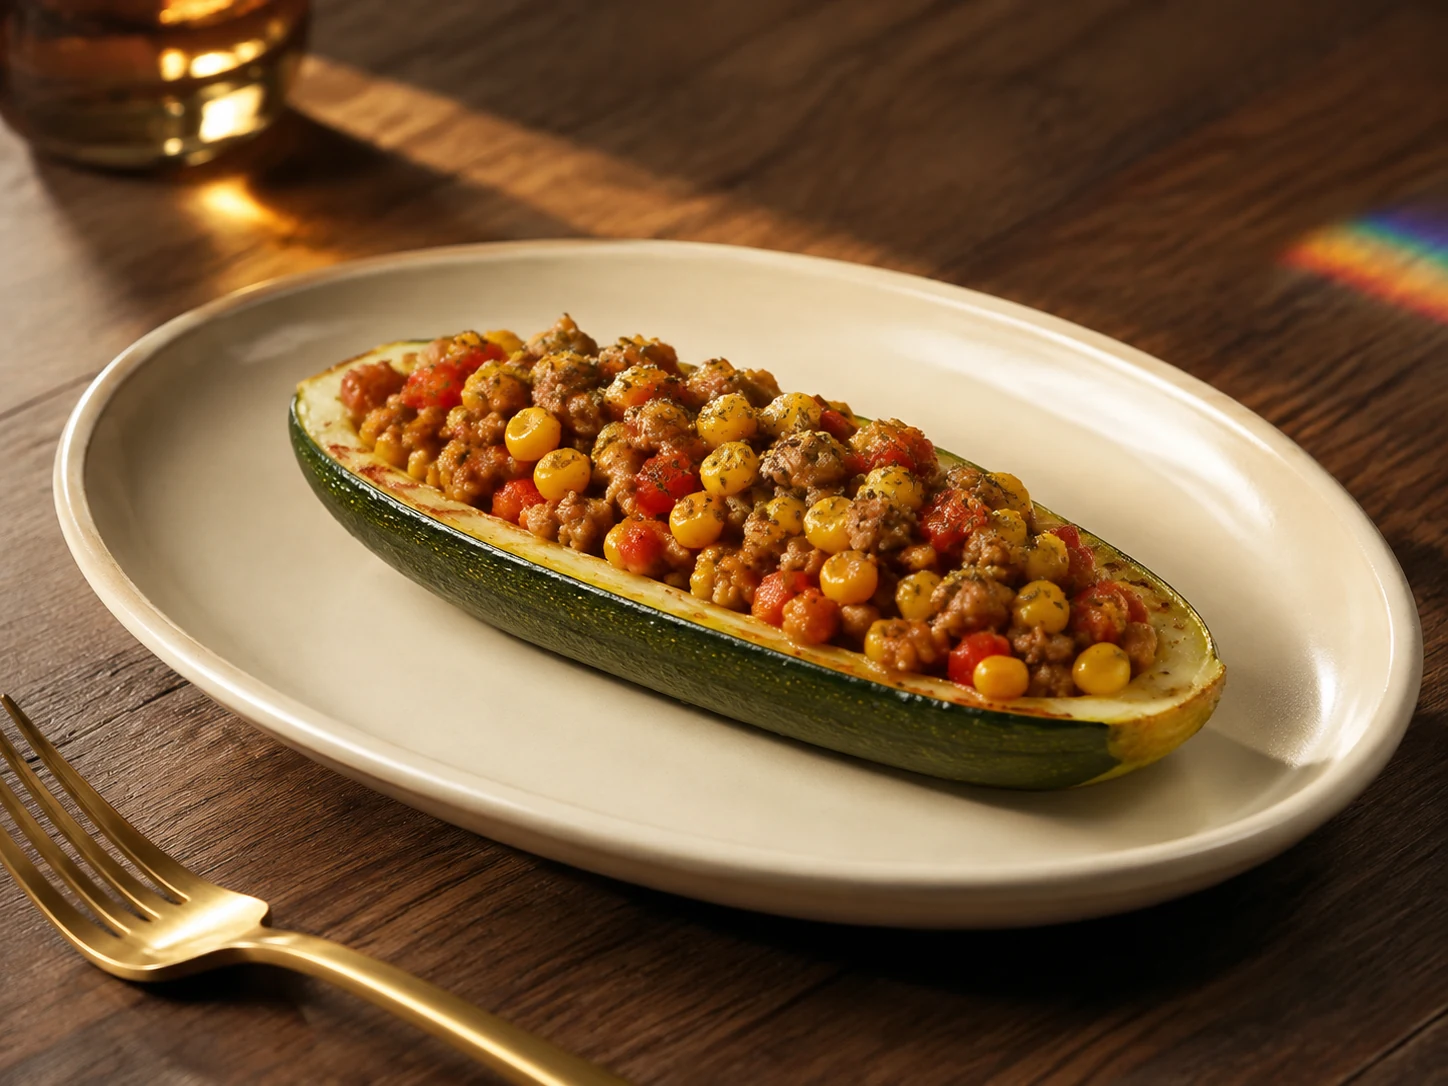
AI illustration of Turkey, Pepper & Corn Stuffed Zucchini
AI-generated serving illustration; appearance is illustrative, not evidence of a cooked test.

FT-0856

Turkey, Pepper & Corn Stuffed Zucchini

4 servings; one filled zucchini half each
20 minutes prep + 25-30 minutes cooking and baking

Allergens: no major allergen intentionally added; verify all labels and cross-contact information.

Ingredients & method

Ingredients

  • 2 medium-large zucchini, about 10 ounces (280 g) each
  • 12 ounces (340 g) unseasoned ground turkey
  • 1 small red bell pepper, diced
  • 1/2 cup plain frozen corn
  • 1 small onion, finely diced
  • 1 tablespoon olive oil
  • 1/2 teaspoon dried oregano
  • 1/2 teaspoon smoked paprika
  • 1/4 teaspoon black pepper
  • 2 tablespoons water

Method

  1. Heat the oven to 400 F (204 C). Check turkey and corn labels for added salt, seasoning and additives.
  2. Wash zucchini, pepper and onion. Halve zucchini lengthwise and scoop out a shallow channel with a spoon, leaving a sturdy 1/4-inch wall.
  3. Finely chop the scooped zucchini flesh. Put the four shells cut-side up in a baking dish with the measured water around them.
  4. Bake the empty shells for 10 minutes while preparing the filling.
  5. Warm oil in a skillet over medium heat; cook onion and pepper for 4 minutes, then add turkey using a dedicated raw-poultry utensil.
  6. Break turkey into crumbles and cook for 6-8 minutes; stir in chopped zucchini flesh, corn, oregano, paprika and pepper.
  7. Cook until vegetables soften and turkey reaches 165 F (74 C) in several places; clean the thermometer between checks.
  8. Divide filling evenly among the four warm zucchini shells, then bake for 10-15 minutes more, until zucchini is tender and the filling centers reach 165 F (74 C).
  9. Let stand for 3 minutes, then serve one filled zucchini half per diner.
  10. Chill leftovers promptly in shallow containers; follow the storage note.
Dietary notes & storage

Review the size of the zucchini half, corn quantity and turkey portion with your renal dietitian. There is no added cheese or salt substitute, but that does not establish clinical suitability. Not clinically reviewed; no universal kidney-safe claim or calculated nutrient values. Agree portions and ingredient choices with your renal dietitian. Do not substitute potassium-containing salt.

Storage: Refrigerate leftovers in shallow containers within 2 hours, or 1 hour above 90 F (32 C), at 40 F (4 C) or below. Use within 3-4 days; reheat hot dishes to 165 F (74 C).

Not kitchen-tested · not clinically reviewed

Back to recipe list
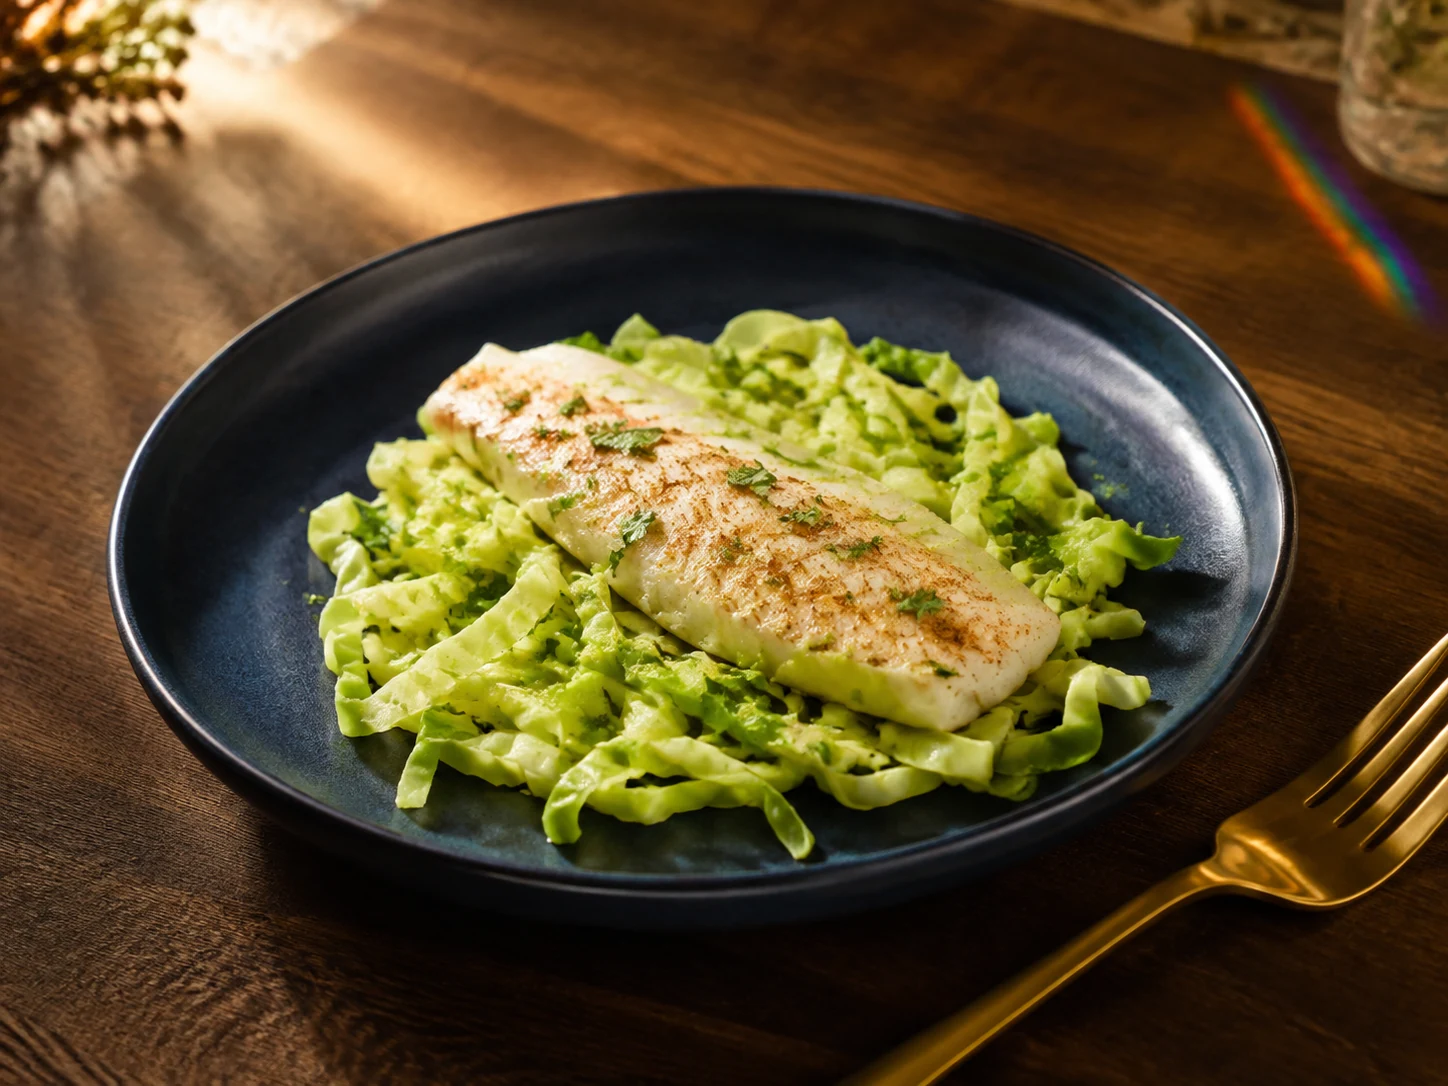
AI illustration of Cumin-Lime Tilapia with Warm Cabbage Ribbons
AI-generated serving illustration; appearance is illustrative, not evidence of a cooked test.

FT-0857

Cumin-Lime Tilapia with Warm Cabbage Ribbons

4 servings; one fillet and one-quarter of cabbage each
15 minutes prep + 15-20 minutes cooking

Allergens: fish (tilapia).

Ingredients & method

Ingredients

  • 1 pound (454 g) tilapia, divided into four fillets and thawed in the refrigerator if frozen
  • 4 cups (about 280 g) thinly sliced green cabbage
  • 1 tablespoon olive oil, divided
  • 1/2 teaspoon ground cumin
  • 1 lime, washed; use 1 teaspoon zest and 1 tablespoon juice
  • 2 tablespoons water
  • 1 tablespoon chopped fresh cilantro
  • 1/4 teaspoon black pepper

Method

  1. Read the fish label for added salt or phosphate ingredients. Set out a rimmed baking sheet, skillet and food thermometer; heat the oven to 400 F (204 C).
  2. Wash cabbage, lime and cilantro under running water. Slice cabbage and prepare zest, juice and cilantro on a clean produce board.
  3. Warm half the oil in a skillet over medium heat; add cabbage and stir for 2 minutes.
  4. Add water, cover and cook for 5-7 minutes until cabbage softens but retains texture; stir once or twice.
  5. Meanwhile place chilled tilapia on the baking sheet using a separate raw-fish surface and utensil; wash hands after handling.
  6. Rub fillets with the remaining oil, cumin and pepper; bake for 12-16 minutes, adjusting for thickness.
  7. Check every fillet reaches 145 F (63 C) at the thickest part with a clean thermometer; cook longer if needed.
  8. Toss warm cabbage with lime juice and half the zest and cilantro.
  9. Divide cabbage among four plates and top each with one fillet; scatter the remaining zest and cilantro over the fish.
  10. Refrigerate leftovers promptly in shallow containers; follow the storage note.
Dietary notes & storage

Review fish products for added solutions and agree the fish and cabbage portions with your renal dietitian. Lime and cumin provide flavor without implying a measured nutrient reduction. Not clinically reviewed; no universal kidney-safe claim or calculated nutrient values. Agree portions and ingredient choices with your renal dietitian. Do not substitute potassium-containing salt.

Storage: Refrigerate leftovers in shallow containers within 2 hours, or 1 hour above 90 F (32 C), at 40 F (4 C) or below. Use within 3-4 days; reheat hot dishes to 165 F (74 C).

Not kitchen-tested · not clinically reviewed

Back to recipe list
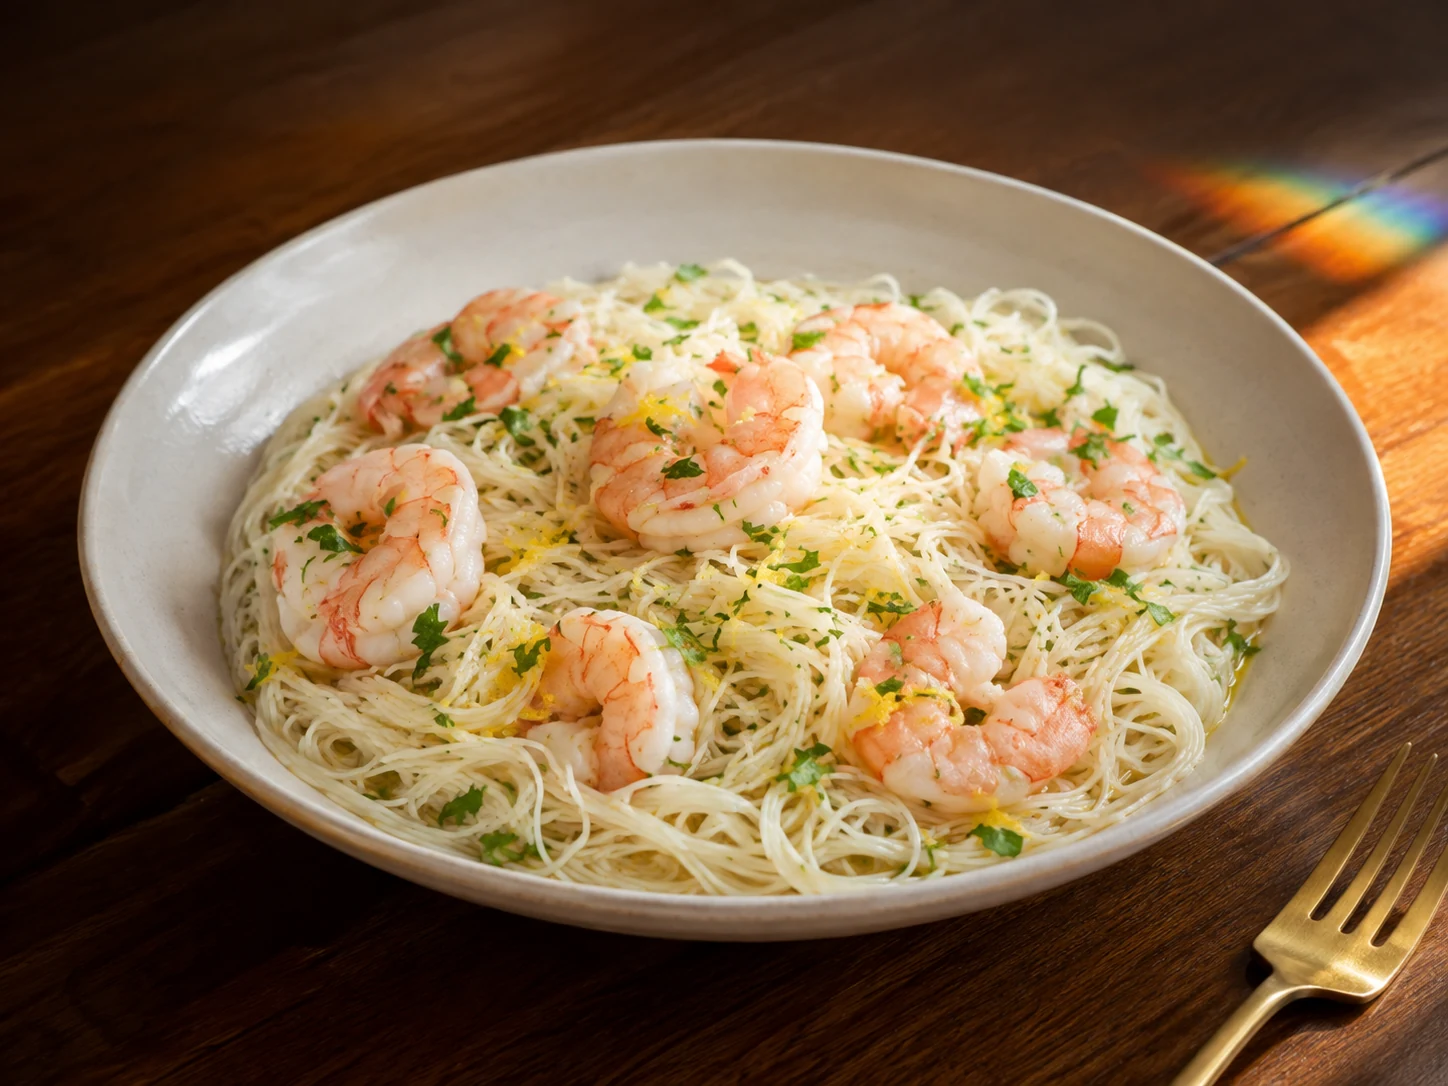
AI illustration of Lemon-Parsley Shrimp & Rice Noodles
AI-generated serving illustration; appearance is illustrative, not evidence of a cooked test.

FT-0858

Lemon-Parsley Shrimp & Rice Noodles

4 servings; one-quarter of noodles and shrimp each
15 minutes prep + 12-15 minutes cooking

Allergens: crustacean shellfish (shrimp); some shrimp contain sulfites, which are an additional sensitivity concern.

Ingredients & method

Ingredients

  • 12 ounces (340 g) raw shrimp, peeled, deveined and tails removed, thawed in the refrigerator if frozen
  • 6 ounces (170 g) dry thin rice noodles
  • 1 tablespoon olive oil
  • 2 garlic cloves, minced
  • 1 lemon, washed; use 1 tablespoon juice and 1 teaspoon zest
  • 2 tablespoons chopped fresh parsley
  • 1/4 cup water
  • 1/4 teaspoon black pepper

Method

  1. Check shrimp labels for salt, phosphate ingredients and sulfite preservatives; check noodles for allergens. Keep shrimp cold while preparing the other ingredients.
  2. Wash lemon and parsley; grate zest, measure juice, chop parsley and mince peeled garlic with clean utensils.
  3. Prepare rice noodles according to their package directions without added salt; drain and set aside briefly.
  4. Heat olive oil in a large skillet over medium heat; add garlic and stir for 30 seconds without browning.
  5. Add shrimp in a single layer using a dedicated utensil. Cook for about 2 minutes on the first side, then turn.
  6. Add the measured water and cook another 1-3 minutes, until all shrimp flesh is pearly white and opaque throughout; larger shrimp may need longer.
  7. Cut a large shrimp to check that no translucent center remains. If any shrimp are underdone, continue cooking before adding noodles.
  8. Toss drained noodles into the hot skillet with lemon juice, zest, parsley and pepper until evenly combined and steaming.
  9. Divide into four equal portions with shrimp distributed evenly; serve promptly using clean utensils.
  10. Refrigerate leftovers promptly in shallow containers; follow the storage note.
Dietary notes & storage

Review the shrimp label and portion for your sodium, phosphorus and protein plan. Rice noodles still require label and carbohydrate-portion review; they are not automatically appropriate for every renal diet. Not clinically reviewed; no universal kidney-safe claim or calculated nutrient values. Agree portions and ingredient choices with your renal dietitian. Do not substitute potassium-containing salt.

Storage: Refrigerate leftovers in shallow containers within 2 hours, or 1 hour above 90 F (32 C), at 40 F (4 C) or below. Use within 3-4 days; reheat hot dishes to 165 F (74 C).

Not kitchen-tested · not clinically reviewed

Back to recipe list
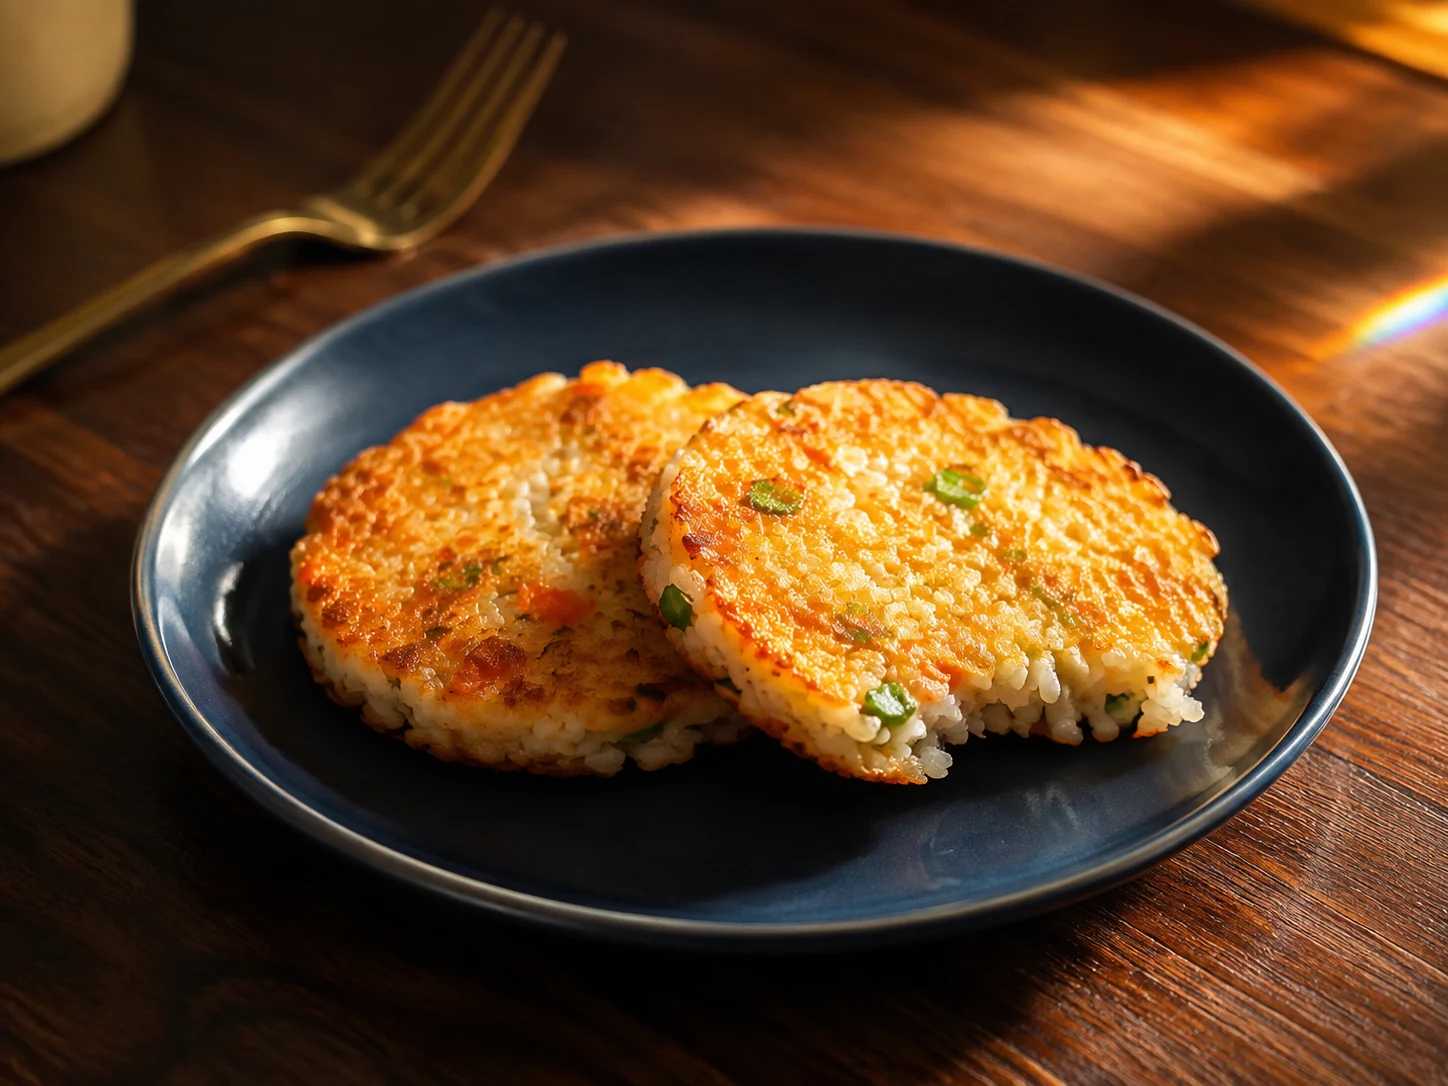
AI illustration of Carrot & Scallion Rice Pancakes
AI-generated serving illustration; appearance is illustrative, not evidence of a cooked test.

FT-0859

Carrot & Scallion Rice Pancakes

4 servings; two small pancakes each
15 minutes prep + 16-20 minutes cooking; cooked rice required

Allergens: egg and wheat.

Ingredients & method

Ingredients

  • 2 cups cooked white rice, previously chilled promptly and kept refrigerated
  • 1 small carrot (about 70 g), finely grated
  • 2 scallions, finely sliced
  • 2 large pasteurized eggs
  • 1/4 cup (30 g) all-purpose flour
  • 1 tablespoon olive oil, divided between batches
  • 1/4 teaspoon black pepper

Method

  1. Use rice that was refrigerated promptly after cooking and is within its safe storage period; discard rice whose time or temperature history is uncertain. Read egg and flour labels.
  2. Wash carrot and scallions under running water, then grate or slice them on a clean board.
  3. Break up the cold rice in a mixing bowl with a fork.
  4. Whisk pasteurized eggs in a second bowl, then combine with rice, carrot, scallions, flour and pepper. Do not taste the raw mixture.
  5. Divide into eight equal mounds; flatten each into a pancake about 3 inches across and no more than 1/2 inch thick.
  6. Heat half the oil in a nonstick skillet over medium heat and add four pancakes without crowding.
  7. Cook for 3-4 minutes per side, turning carefully, until both sides are golden and the centers reach 165 F (74 C) because the mixture reheats cooked rice.
  8. Transfer to a clean plate and repeat with the remaining oil and pancakes; verify their center temperatures too.
  9. Serve two pancakes per person while hot; do not add an unlisted sauce without checking its ingredients separately.
  10. Chill any leftovers promptly and follow the storage note; reheat thoroughly rather than repeatedly warming and cooling.
Dietary notes & storage

Review rice and flour portions in your carbohydrate plan and egg portions in your protein/phosphorus plan. The recipe provides no nutrient panel or prescribed serving. Not clinically reviewed; no universal kidney-safe claim or calculated nutrient values. Agree portions and ingredient choices with your renal dietitian. Do not substitute potassium-containing salt.

Storage: Refrigerate leftovers in shallow containers within 2 hours, or 1 hour above 90 F (32 C), at 40 F (4 C) or below. Use within 3-4 days; reheat hot dishes to 165 F (74 C).

Not kitchen-tested · not clinically reviewed

Back to recipe list
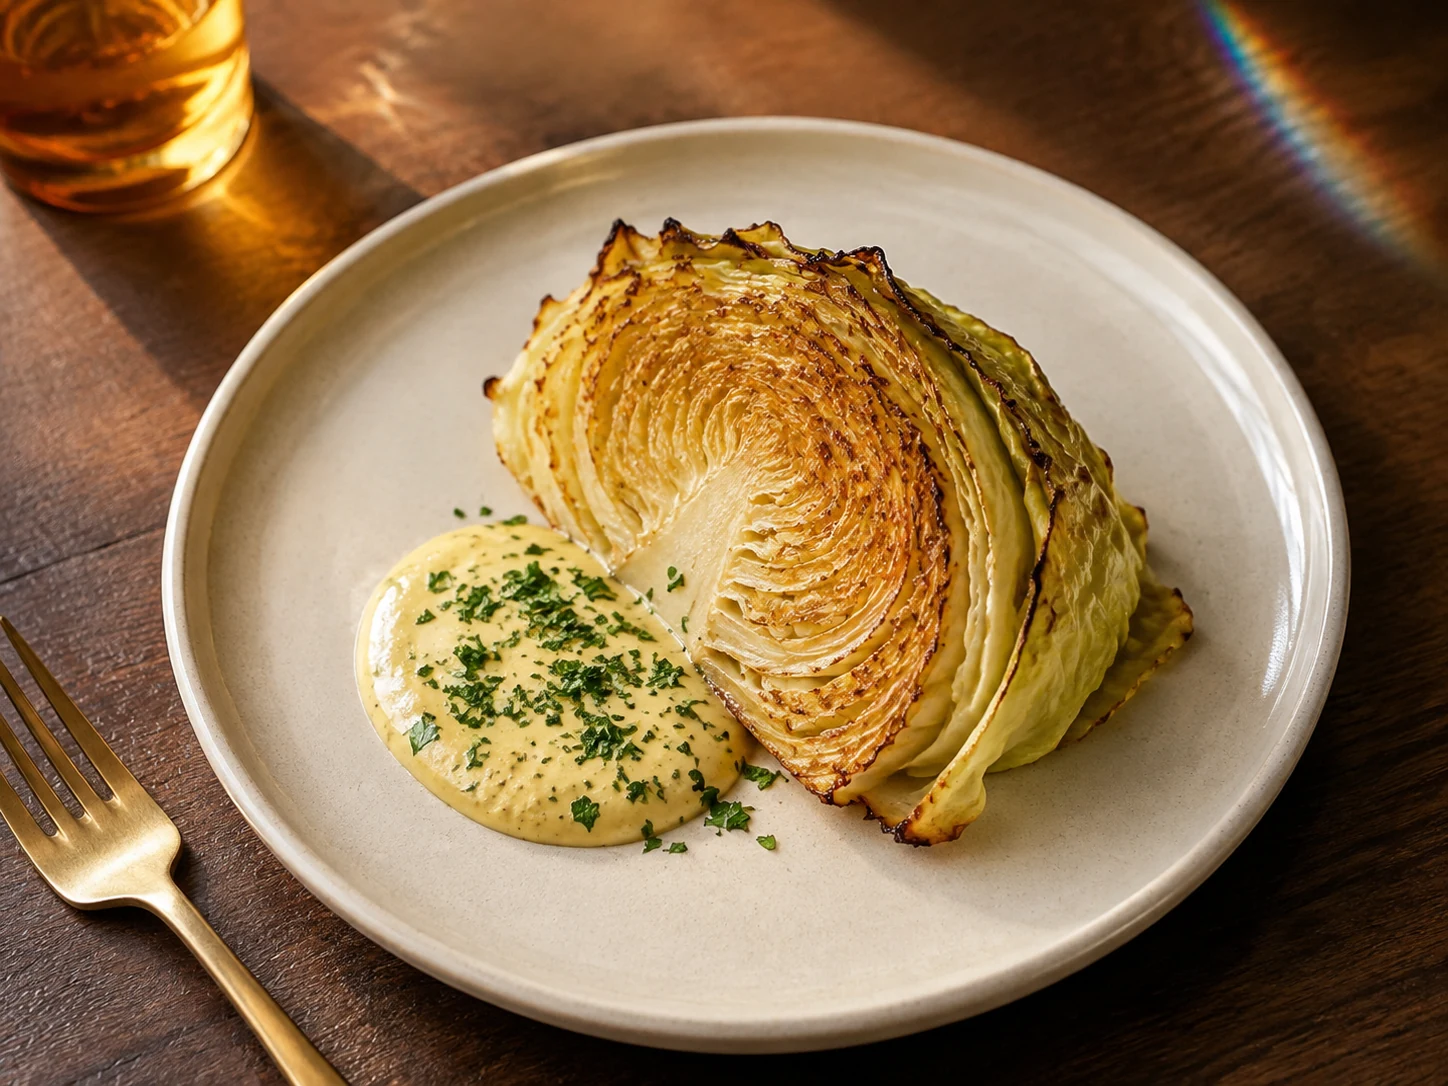
AI illustration of Roasted Cabbage Wedges with Mustard-Herb Yogurt
AI-generated serving illustration; appearance is illustrative, not evidence of a cooked test.

FT-0860

Roasted Cabbage Wedges with Mustard-Herb Yogurt

4 side servings; one wedge and one-quarter of sauce each
15 minutes prep + 30-35 minutes roasting

Allergens: milk and mustard; mustard is an additional allergen to disclose even though it is not one of the U.S. major nine.

Ingredients & method

Ingredients

  • 1 small green cabbage, about 1 pound (454 g), outer damaged leaves removed
  • 1 tablespoon olive oil
  • 1/4 teaspoon black pepper
  • 1/2 cup pasteurized plain yogurt
  • 2 teaspoons Dijon mustard
  • 1 tablespoon chopped fresh parsley
  • 1 teaspoon apple cider vinegar

Method

  1. Heat the oven to 425 F (218 C). Read yogurt and mustard labels, including their sodium and allergen information.
  2. Wash cabbage and parsley under running water. Cut cabbage through the core into four equal wedges, keeping enough core attached to hold each wedge together.
  3. Place wedges on a rimmed baking sheet and brush their cut faces with olive oil.
  4. Season with black pepper and arrange with one cut face down.
  5. Roast for 15 minutes, then turn carefully with a spatula.
  6. Roast for another 15-20 minutes until edges brown and the core is tender when pierced; reduce heat slightly if leaves darken too quickly.
  7. While cabbage cooks, combine pasteurized yogurt, mustard, parsley and vinegar in a clean bowl.
  8. Cover the sauce and keep it refrigerated at 40 F (4 C) or below until serving.
  9. Place one hot wedge on each of four plates; spoon one-quarter of the cold yogurt sauce alongside each wedge.
  10. Refrigerate leftover cabbage and sauce promptly in separate shallow containers; follow the storage note.
Dietary notes & storage

Mustard may contribute sodium and yogurt requires review for phosphorus, potassium and fluid plans. Agree the cabbage portion and condiment amount with your renal dietitian. Not clinically reviewed; no universal kidney-safe claim or calculated nutrient values. Agree portions and ingredient choices with your renal dietitian. Do not substitute potassium-containing salt.

Storage: Refrigerate leftovers in shallow containers within 2 hours, or 1 hour above 90 F (32 C), at 40 F (4 C) or below. Use within 3-4 days; reheat hot dishes to 165 F (74 C).

Not kitchen-tested · not clinically reviewed

Back to recipe list
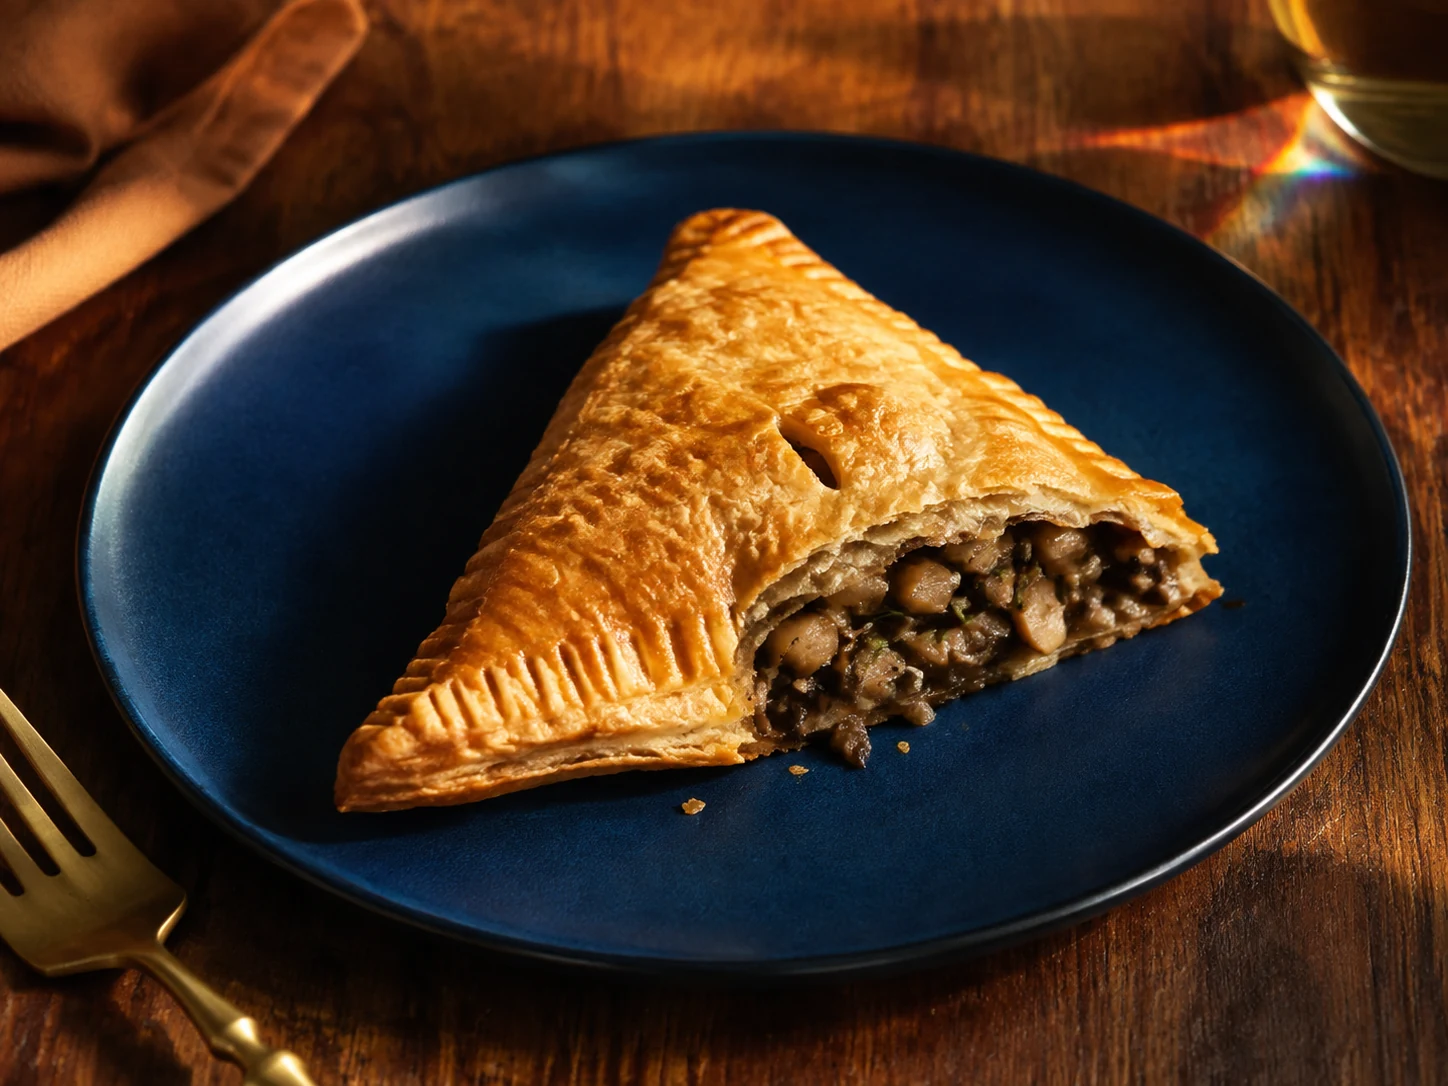
AI illustration of Mushroom, Onion & Rosemary Hand Pies
AI-generated serving illustration; appearance is illustrative, not evidence of a cooked test.

FT-0861

Mushroom, Onion & Rosemary Hand Pies

4 servings; one hand pie each
20 minutes prep + 12 minutes filling + 15 minutes cooling + 20-25 minutes baking; pastry thawing additional

Allergens: wheat; puff pastry may also contain milk, egg or soy depending on the product.

Ingredients & method

Ingredients

  • 1 sheet frozen puff pastry (about 8-9 ounces / 227-255 g), thawed in the refrigerator according to the package
  • 8 ounces (227 g) mushrooms, finely chopped
  • 1 small onion, finely diced
  • 1 tablespoon olive oil
  • 1/2 teaspoon finely chopped fresh rosemary
  • 1/4 teaspoon black pepper
  • 1 teaspoon all-purpose flour for dusting
  • 1 tablespoon water for sealing

Method

  1. Thaw pastry in the refrigerator according to its label and keep it cold until shaping. Read pastry ingredients for wheat, milk, egg, soy and sodium.
  2. Wash mushrooms, onion and rosemary under running water, dry mushrooms, then chop produce finely.
  3. Warm olive oil in a skillet over medium heat; cook onion for 4 minutes.
  4. Add mushrooms, rosemary and pepper; cook for 7-8 minutes, stirring until the mushrooms soften and released moisture mostly evaporates.
  5. Spread filling in a shallow clean dish and cool for about 15 minutes until no longer hot; do not leave it out beyond safe time limits. Heat the oven to 400 F (204 C).
  6. Dust a board with the measured flour, unfold the chilled pastry and roll gently into roughly a 10-inch square; cut into four equal squares.
  7. Divide cooled filling among the squares, keeping it on one half and leaving a clear 1/2-inch edge.
  8. Moisten edges sparingly with water, fold each square into a triangle, press firmly and crimp with a fork; cut a small steam vent in each top.
  9. Bake on a parchment-lined tray for 20-25 minutes or until the package-directed bake is complete, pastry is golden and layers are cooked through; do not taste uncooked pastry.
  10. Cool for 5 minutes before serving one pie per person; refrigerate leftovers promptly and follow the storage note.
Dietary notes & storage

Puff pastry products differ substantially in sodium, fat and additives. Review the specific sheet and one-pie portion with your renal dietitian rather than assuming a substitute is equivalent. Not clinically reviewed; no universal kidney-safe claim or calculated nutrient values. Agree portions and ingredient choices with your renal dietitian. Do not substitute potassium-containing salt.

Storage: Refrigerate leftovers in shallow containers within 2 hours, or 1 hour above 90 F (32 C), at 40 F (4 C) or below. Use within 3-4 days; reheat hot dishes to 165 F (74 C).

Not kitchen-tested · not clinically reviewed

Back to recipe list
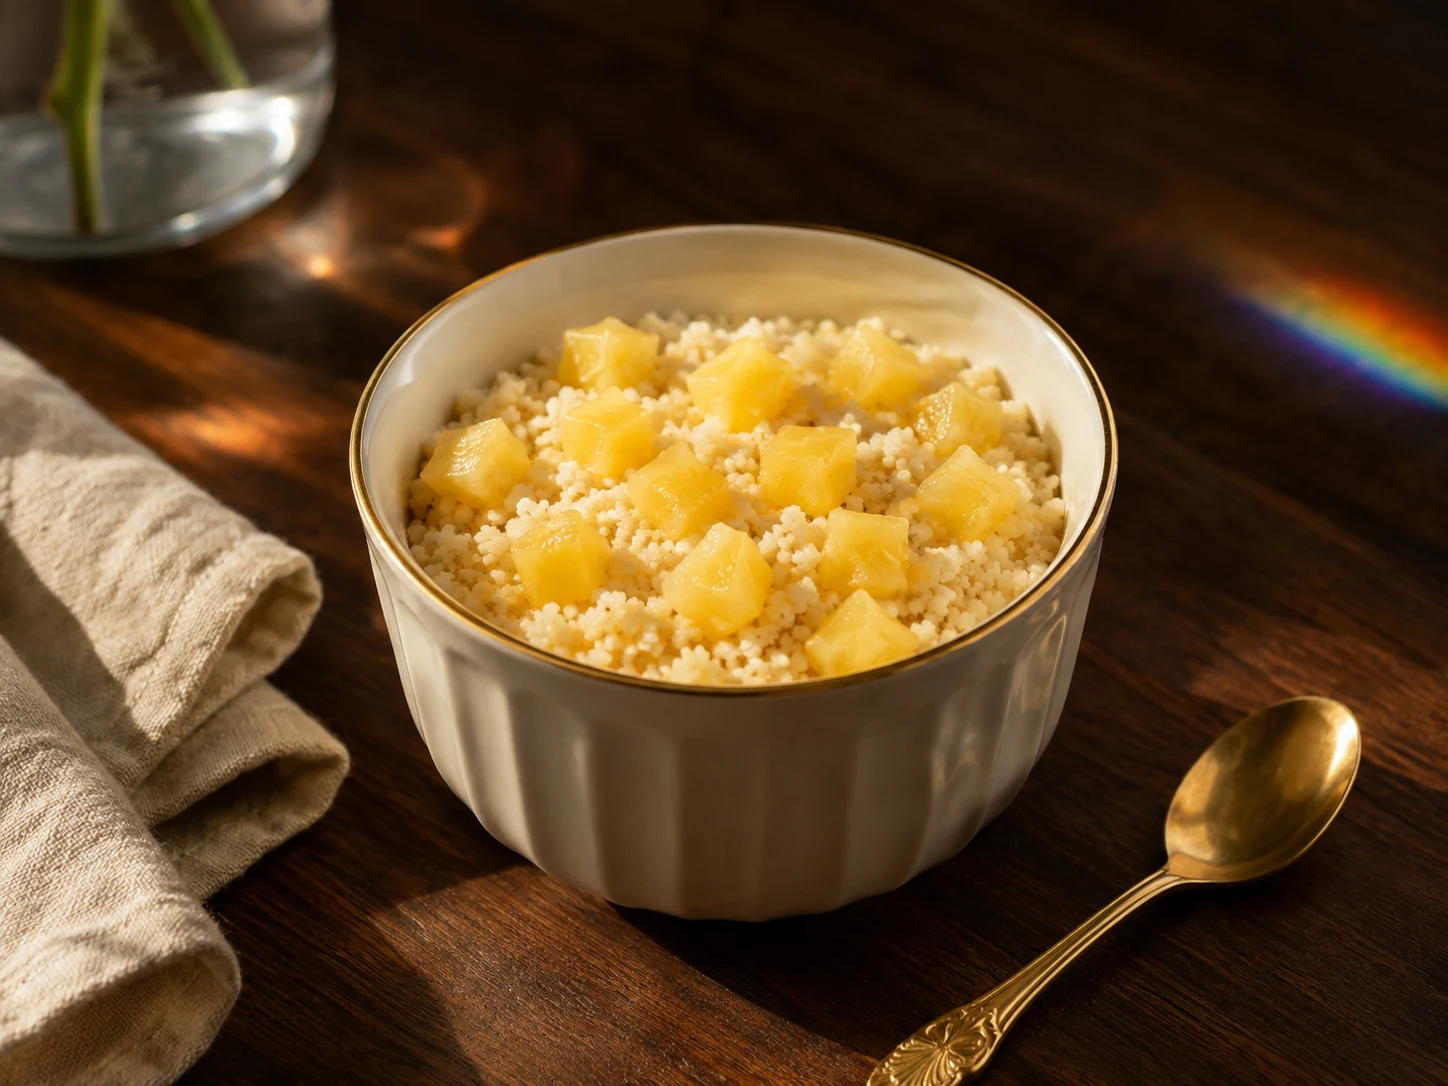
AI illustration of Warm Pineapple-Vanilla Couscous Cups
AI-generated serving illustration; appearance is illustrative, not evidence of a cooked test.

FT-0862

Warm Pineapple-Vanilla Couscous Cups

4 small servings; one-quarter of batch each
10 minutes prep + 10 minutes cooking

Allergens: wheat.

Ingredients & method

Ingredients

  • 1/2 cup (85 g) dry couscous
  • 3/4 cup water
  • 1 cup (about 165 g) small fresh pineapple cubes
  • 1 teaspoon olive oil
  • 1/2 teaspoon vanilla extract
  • 1 teaspoon lime juice
  • 2 teaspoons sugar, optional

Method

  1. Check the couscous and vanilla labels for wheat and other allergens. This recipe uses ordinary wheat couscous, not a gluten-free product.
  2. Wash the pineapple exterior before cutting; remove the rind, eyes and tough core, then measure one cup of small cubes with clean utensils. Wash the lime.
  3. Bring the measured water to a boil in a small covered saucepan.
  4. Stir in couscous, turn off the heat, cover and let stand for the package-directed time, usually about 5 minutes.
  5. Meanwhile warm olive oil in a small skillet over medium heat.
  6. Add pineapple cubes and cook for 4-5 minutes, stirring until warm and lightly golden in spots.
  7. Add vanilla, lime juice and optional sugar to the pineapple; stir for 30 seconds.
  8. Fluff couscous with a fork and fold in the warm pineapple mixture.
  9. Divide evenly among four small cups or bowls and serve warm.
  10. Refrigerate any leftovers promptly in shallow containers and follow the storage note.
Dietary notes & storage

Review couscous, pineapple and optional sugar portions in your carbohydrate and potassium plan. This is an illustrated dessert or snack idea, not a nutritional prescription. Not clinically reviewed; no universal kidney-safe claim or calculated nutrient values. Agree portions and ingredient choices with your renal dietitian. Do not substitute potassium-containing salt.

Storage: Refrigerate leftovers in shallow containers within 2 hours, or 1 hour above 90 F (32 C), at 40 F (4 C) or below. Use within 3-4 days; reheat hot dishes to 165 F (74 C).

Not kitchen-tested · not clinically reviewed

Back to recipe list
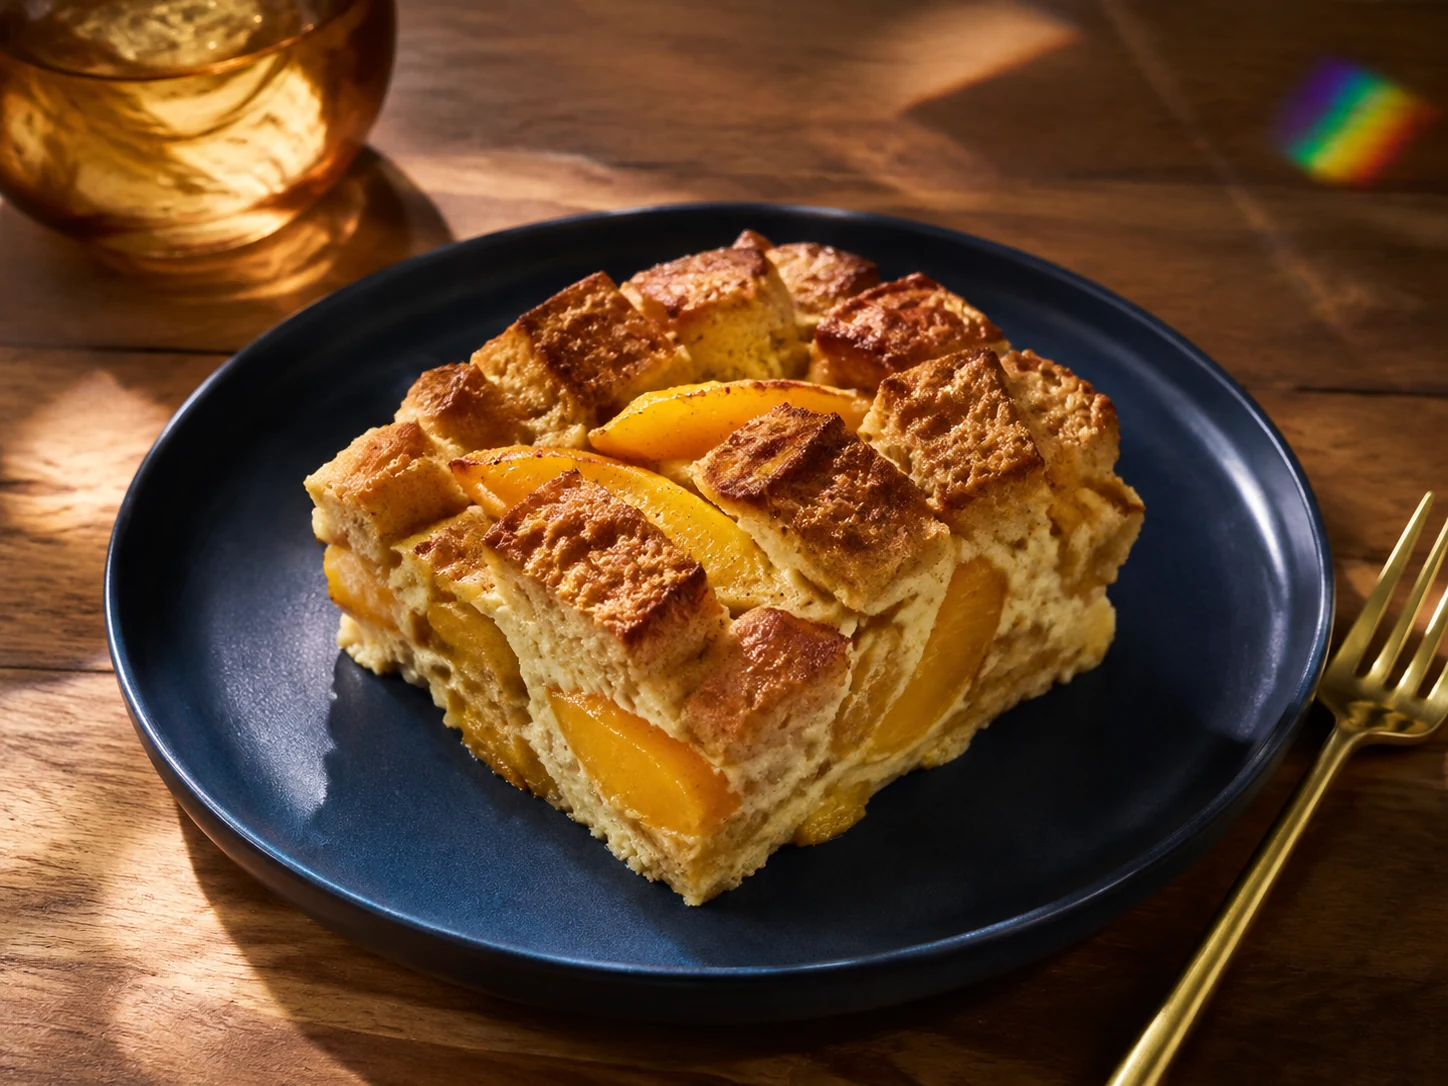
AI illustration of Cinnamon-Peach French Toast Bake
AI-generated serving illustration; appearance is illustrative, not evidence of a cooked test.

FT-0863

Cinnamon-Peach French Toast Bake

4 servings; one-quarter of 8-inch-square bake each
15 minutes prep + 10 minutes soaking + 30-40 minutes baking + 10 minutes rest

Allergens: wheat, egg and milk.

Ingredients & method

Ingredients

  • 6 slices white sandwich bread (about 180 g), cut into 1-inch cubes
  • 3 large pasteurized eggs
  • 3/4 cup pasteurized milk
  • 1 cup (about 150 g) peeled peach slices, fresh or plain frozen and thawed in the refrigerator
  • 1 tablespoon sugar
  • 1/2 teaspoon cinnamon
  • 1/2 teaspoon vanilla extract
  • 1 teaspoon olive oil for the dish

Method

  1. Heat the oven to 350 F (177 C). Read bread, milk and egg labels, and oil an 8-inch-square baking dish with the measured oil.
  2. If using fresh peaches, wash them under running water before peeling, pitting and slicing; keep thawed frozen peaches refrigerated until assembling.
  3. Cut bread into one-inch cubes on a clean board and place half in the baking dish.
  4. Scatter half the peaches over the bread, then add the remaining bread and peaches.
  5. Whisk pasteurized eggs with pasteurized milk, sugar, cinnamon and vanilla in a clean bowl.
  6. Pour the mixture evenly over the bread; press gently so all pieces moisten and let stand for 10 minutes. Do not taste raw egg mixture.
  7. Bake for 30 minutes, then check the center; cover loosely with foil if the top browns before the middle sets.
  8. Continue baking as needed, usually up to 10 minutes more, until the center reaches 165 F (74 C) with a clean thermometer and no liquid custard remains.
  9. Rest for 10 minutes before cutting into four equal portions; serve one portion per person.
  10. Refrigerate leftovers promptly in shallow containers and follow the storage note.
Dietary notes & storage

Review bread labels and the egg, milk, peach and sugar amounts against your personal sodium, phosphorus, protein, fluid and carbohydrate plan. No nutrient limits are inferred from the recipe. Not clinically reviewed; no universal kidney-safe claim or calculated nutrient values. Agree portions and ingredient choices with your renal dietitian. Do not substitute potassium-containing salt.

Storage: Refrigerate leftovers in shallow containers within 2 hours, or 1 hour above 90 F (32 C), at 40 F (4 C) or below. Use within 3-4 days; reheat hot dishes to 165 F (74 C).

Not kitchen-tested · not clinically reviewed

Back to recipe list
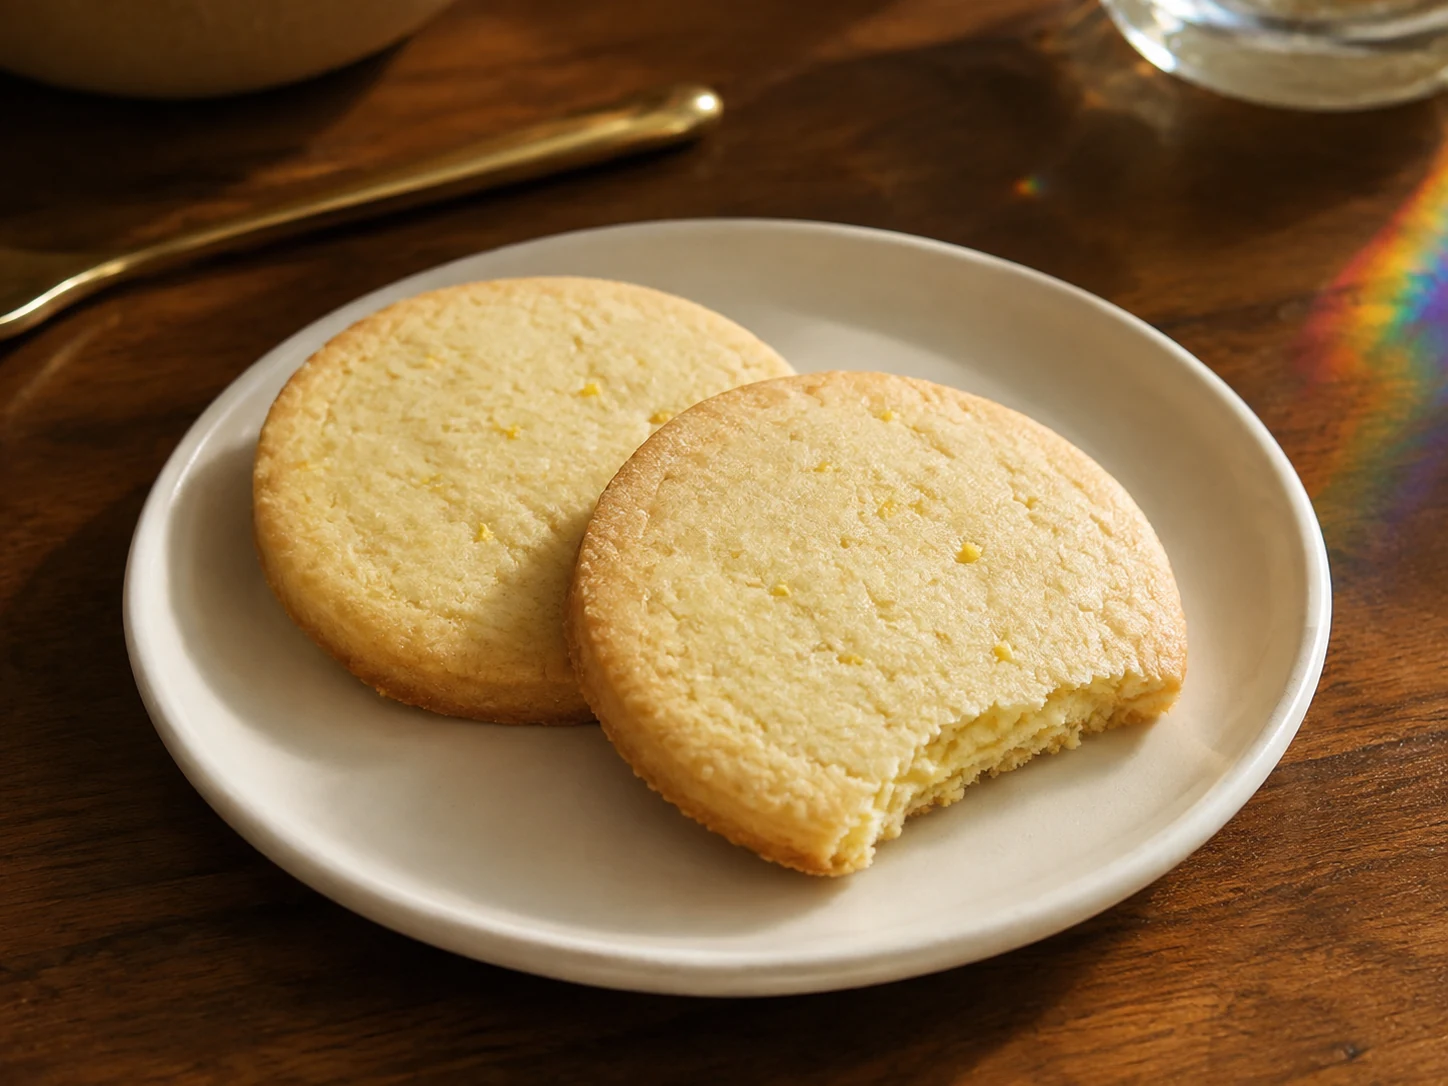
AI illustration of Lemon-Vanilla Shortbread Coins
AI-generated serving illustration; appearance is illustrative, not evidence of a cooked test.

FT-0864

Lemon-Vanilla Shortbread Coins

6 servings; two cookies each from twelve
15 minutes prep + 30 minutes chilling + 18-22 minutes baking + 15 minutes cooling

Allergens: wheat and milk.

Ingredients & method

Ingredients

  • 3/4 cup (90 g) all-purpose flour
  • 1/4 cup (57 g) unsalted butter made from pasteurized milk, softened
  • 2 tablespoons (25 g) granulated sugar
  • 1/2 teaspoon vanilla extract
  • 1/2 teaspoon finely grated lemon zest

Method

  1. Read flour, butter and vanilla labels for allergens. Wash the lemon under running water before grating the measured zest.
  2. Beat softened butter and sugar together in a clean bowl until creamy, about 2 minutes.
  3. Mix in vanilla and lemon zest until evenly distributed.
  4. Add flour and stir just until crumbly, then gently press into a cohesive dough; do not taste raw flour or dough.
  5. Shape into a log about 4 inches long and 1 1/2 inches in diameter; wrap and refrigerate for 30 minutes until firm.
  6. Heat the oven to 325 F (163 C) and line a baking sheet with baking parchment.
  7. Cut the chilled log into twelve equal rounds, about 1/3 inch thick; arrange on the sheet with at least 1 inch between cookies.
  8. Bake for 18-22 minutes until the edges are light gold and the surfaces are set; avoid browning them deeply.
  9. Cool on the sheet for 5 minutes, then transfer carefully to a rack for another 10 minutes. Serve two cookies per portion.
  10. Once fully cool, cover the extra cookies; for a conservative home-storage plan refrigerate and use within 3-4 days, or freeze in a labeled airtight container.
Dietary notes & storage

Review butter, flour and sugar quantities and the two-cookie portion with your renal dietitian, particularly where diabetes or energy goals apply. There are no calculated nutrient or low-sodium claims. Not clinically reviewed; no universal kidney-safe claim or calculated nutrient values. Agree portions and ingredient choices with your renal dietitian. Do not substitute potassium-containing salt.

Storage: Refrigerate leftovers in shallow containers within 2 hours, or 1 hour above 90 F (32 C), at 40 F (4 C) or below. Use within 3-4 days; reheat hot dishes to 165 F (74 C).

Not kitchen-tested · not clinically reviewed

Back to recipe list

Sources & review boundaries

These primary sources inform food handling and individual dietary planning. They do not endorse, test or provide the formulations on this page. Recipe text and serving illustrations were created for NorthStar Prime.