← Digital MasterCook Book

NorthStar Prime · Fantasy Table · Wave 096

Bright Skillets &
Small-Batch Comforts

Ten new recipes for the everyday table: lemon and herbs, warm spices, tender fruit, and a little time at the skillet. Each recipe includes measured ingredients, a portion guide and a complete method.

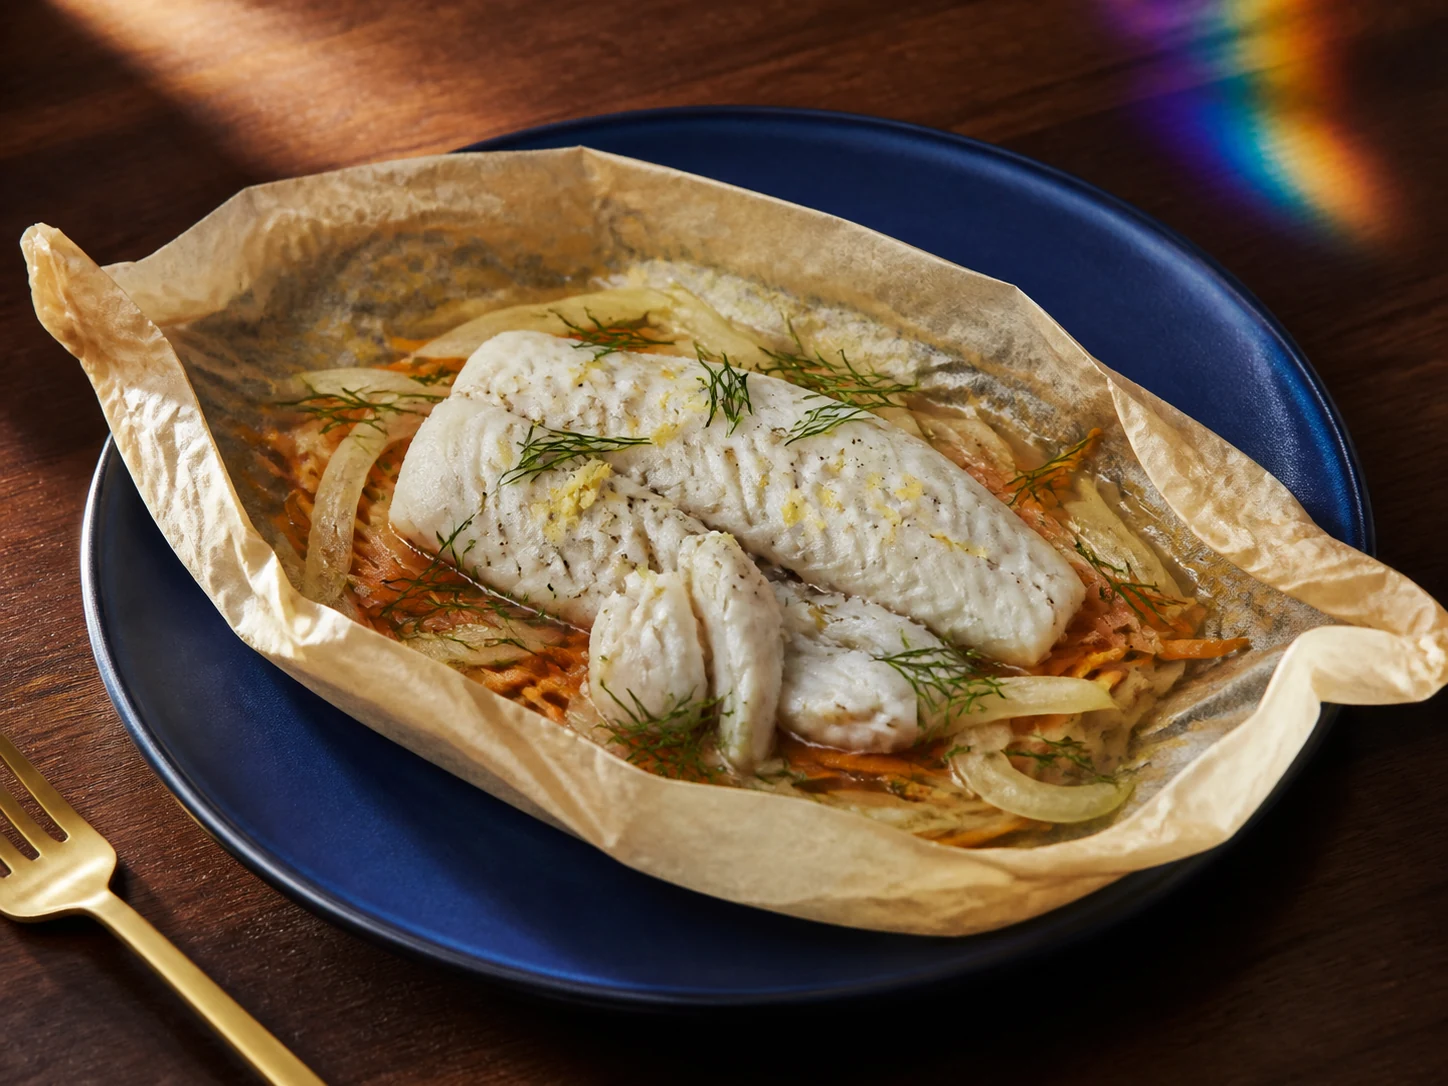
AI illustration of Lemon-Dill Cod & Fennel Parchment Parcels
AI-generated serving illustration; appearance is illustrative, not evidence of a cooked test.

FT-0845

Lemon-Dill Cod & Fennel Parchment Parcels

4 servings; one parcel each
15 minutes prep + 20-25 minutes baking

Allergens: fish (cod).

Ingredients & method

Ingredients

  • 1 pound (454 g) cod, divided into four equal fillets, thawed in the refrigerator if frozen
  • 1 small fennel bulb (about 200 g), trimmed and very thinly sliced
  • 1 medium carrot (about 100 g), cut into thin matchsticks
  • 1 lemon, washed; 1 teaspoon zest and 1 tablespoon juice
  • 1 tablespoon olive oil
  • 2 tablespoons chopped fresh dill
  • 1/4 teaspoon black pepper
  • 4 tablespoons water
  • Four 12-inch squares of baking parchment rated for 400 F

Method

  1. Heat the oven to 400 F (204 C). Check fish labels for added brine or phosphate additives; keep the cod chilled while preparing vegetables.
  2. Wash fennel, carrot, lemon and dill under running water. Prepare them on a clean board separate from the raw fish.
  3. Toss the fennel and carrot with oil, lemon zest, lemon juice and pepper; divide into four equal piles.
  4. Set the four parchment sheets on a rimmed baking sheet, with one vegetable pile on each sheet.
  5. Pat cod dry on the raw-fish work surface; place one fillet over each vegetable pile. Wash hands and clean the work surface afterward.
  6. Add one tablespoon water and one-quarter of the dill to each parcel; fold and crimp the parchment securely with space above the fish.
  7. Bake for 20 minutes; thicker fillets may need about 5 minutes longer. Time is an estimate, not the doneness test.
  8. Open each parcel away from your face; check the thickest part of every fillet reaches 145 F (63 C) with a clean thermometer. Reseal and cook longer if needed.
  9. Transfer the parcels to four plates and open carefully to release steam. Serve the vegetables and juices with the fish.
  10. Chill leftover fish and vegetables promptly in shallow containers; follow the storage note.
Dietary notes & storage

Review the fish portion, fennel/carrot quantities and any added fish brine against your own protein, potassium, phosphorus and sodium plan. Not clinically reviewed; no universal kidney-safe claim or calculated nutrient values. Agree portions and ingredient choices with your renal dietitian. Do not substitute potassium-containing salt.

Storage: Refrigerate leftovers in shallow containers within 2 hours, or 1 hour above 90 F (32 C), at 40 F (4 C) or below. Use within 3-4 days; reheat hot dishes to 165 F (74 C).

Not kitchen-tested · not clinically reviewed

Back to recipe list
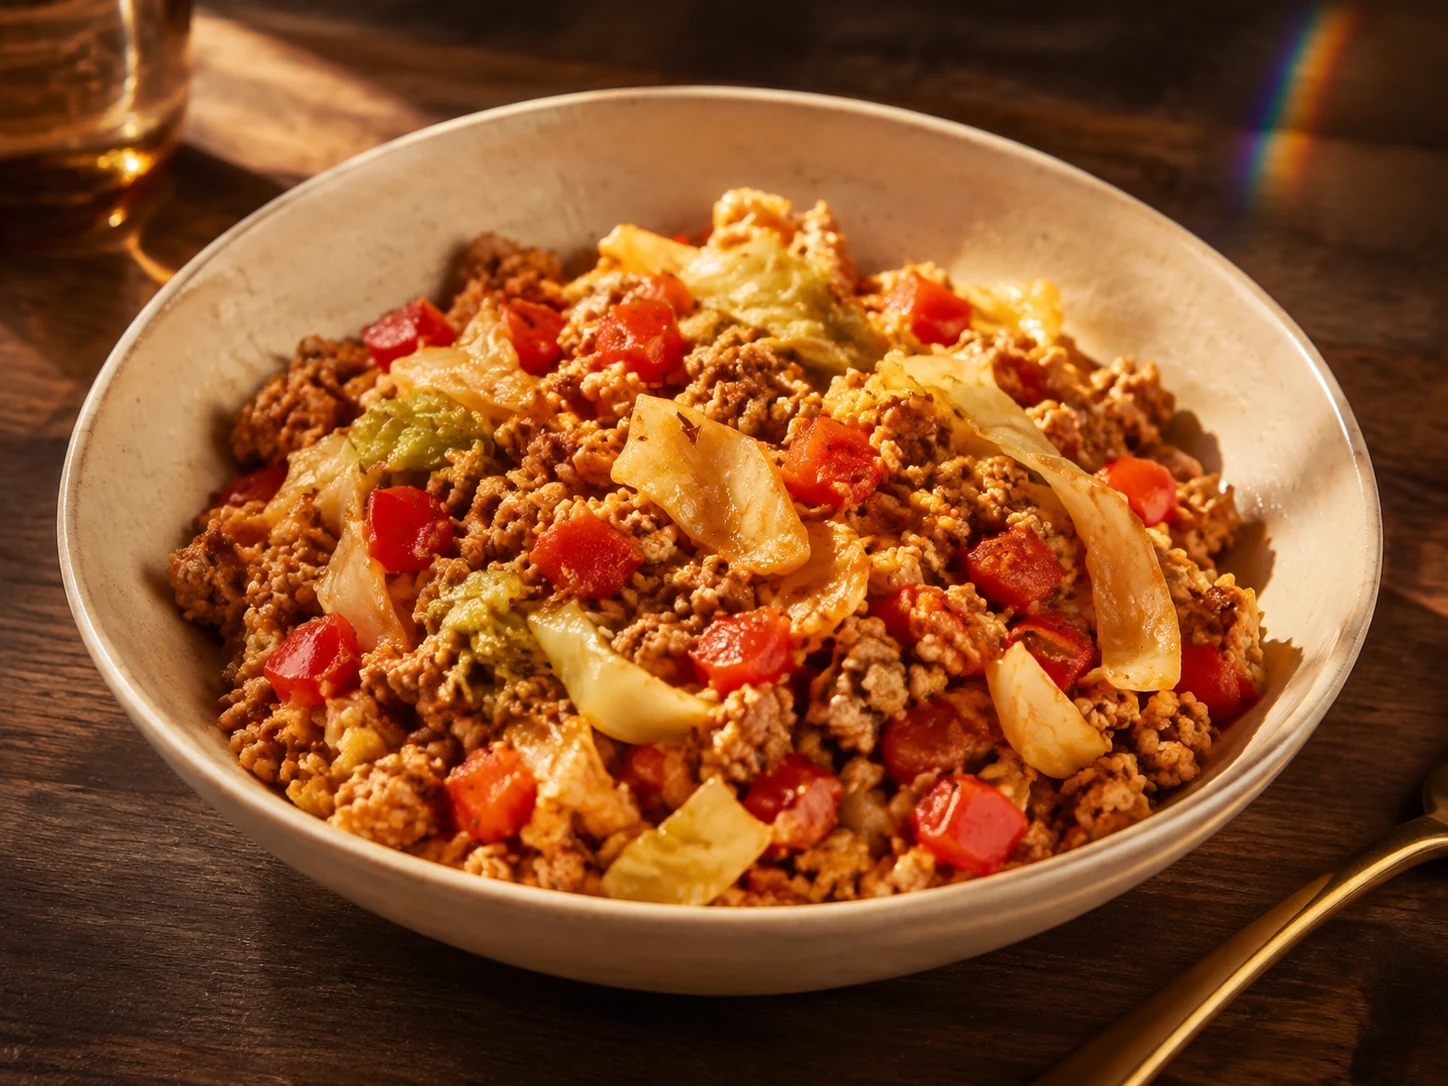
AI illustration of Smoky Turkey, Cabbage & Caraway Skillet
AI-generated serving illustration; appearance is illustrative, not evidence of a cooked test.

FT-0846

Smoky Turkey, Cabbage & Caraway Skillet

4 servings; one-quarter of skillet each
15 minutes prep + 20 minutes cooking

Allergens: no major allergen intentionally added; verify all packages and cross-contact statements.

Ingredients & method

Ingredients

  • 1 pound (454 g) ground turkey, unseasoned
  • 4 cups (about 280 g) thinly sliced green cabbage
  • 1 small onion, diced
  • 1 red bell pepper, diced
  • 1 tablespoon olive oil
  • 1 teaspoon smoked paprika
  • 1/2 teaspoon caraway seeds
  • 1 tablespoon apple cider vinegar
  • 1/4 cup water
  • 1/4 teaspoon black pepper

Method

  1. Read turkey and spice labels for added salt and additives. Set out a large skillet, a lid and a food thermometer.
  2. Wash the cabbage, onion and pepper; slice or dice them on a clean produce board.
  3. Warm oil in the skillet over medium heat; cook onion and pepper for 5 minutes, stirring.
  4. Add turkey using a dedicated utensil; break it into small crumbles and cook for 6-8 minutes. Wash hands after handling the package.
  5. Stir in paprika, caraway and black pepper for 30 seconds without scorching the spices.
  6. Add cabbage and water; cover and cook over medium-low heat for 6-8 minutes, stirring twice, until cabbage is tender.
  7. Check the turkey in several places reaches 165 F (74 C); continue cooking and checking if necessary.
  8. Remove the lid, add vinegar and cook for another 1-2 minutes to reduce excess liquid.
  9. Divide the skillet mixture into four equal portions and serve hot.
  10. Transfer leftovers to shallow containers and refrigerate promptly; follow the storage note.
Dietary notes & storage

No salt is added in this formulation, but this is not a measured low-sodium claim. Turkey products vary; review the protein portion and vegetable amounts with your renal dietitian. Not clinically reviewed; no universal kidney-safe claim or calculated nutrient values. Agree portions and ingredient choices with your renal dietitian. Do not substitute potassium-containing salt.

Storage: Refrigerate leftovers in shallow containers within 2 hours, or 1 hour above 90 F (32 C), at 40 F (4 C) or below. Use within 3-4 days; reheat hot dishes to 165 F (74 C).

Not kitchen-tested · not clinically reviewed

Back to recipe list
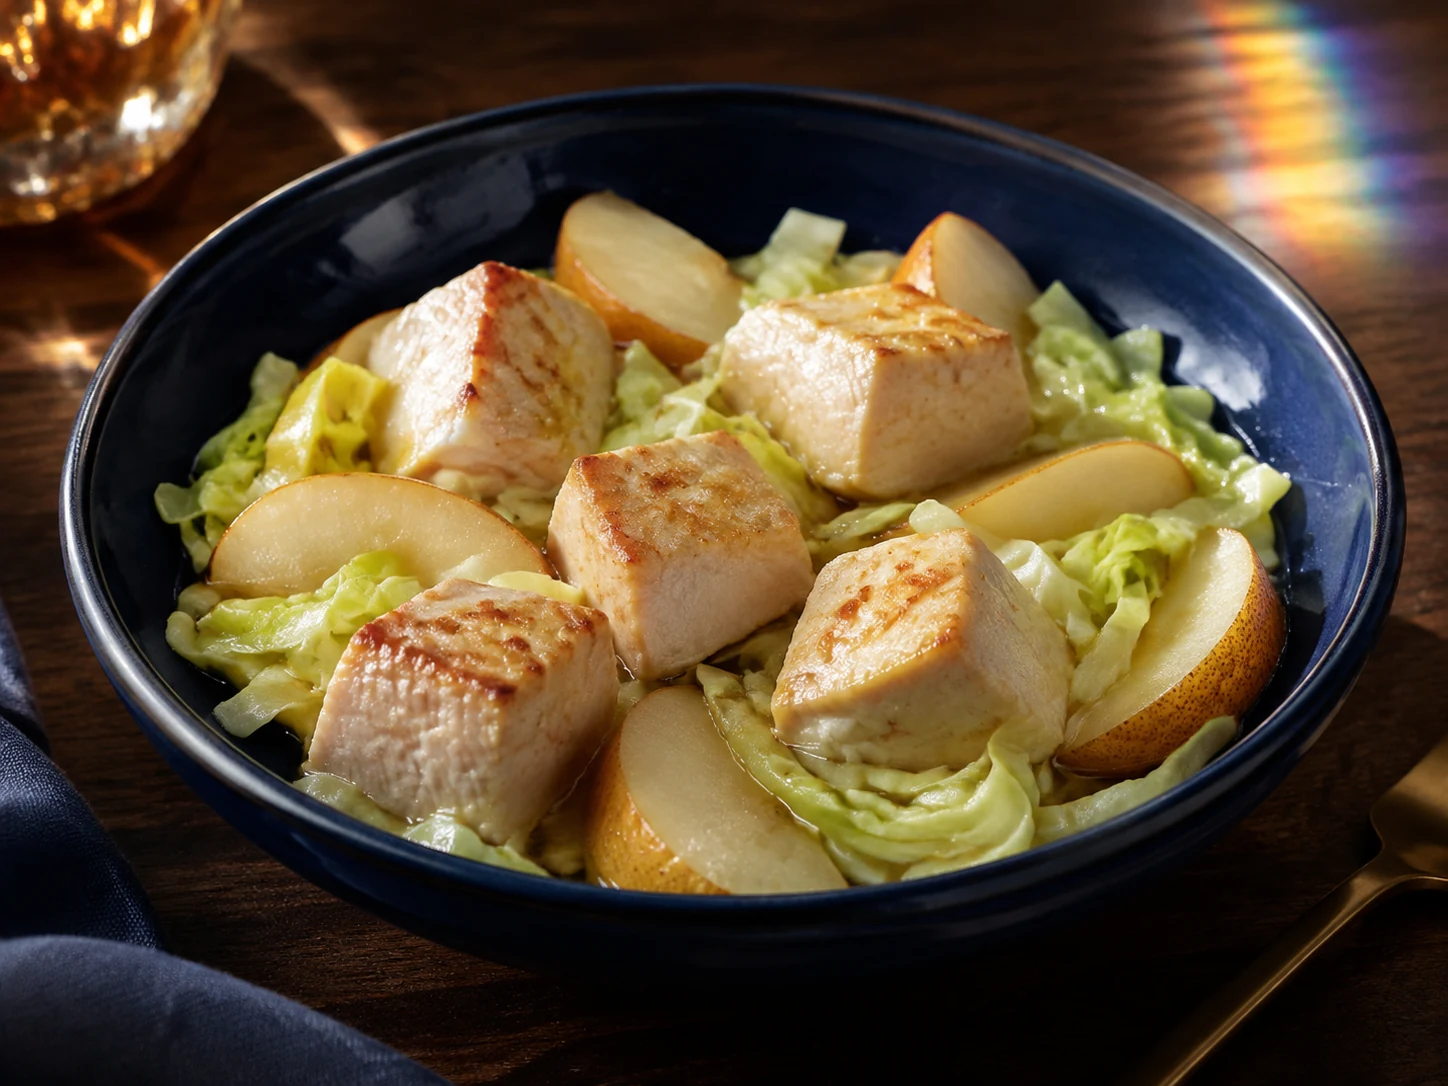
AI illustration of Ginger-Pear Chicken with Crisp-Tender Cabbage
AI-generated serving illustration; appearance is illustrative, not evidence of a cooked test.

FT-0847

Ginger-Pear Chicken with Crisp-Tender Cabbage

4 servings; one-quarter of dish each
15 minutes prep + 20 minutes cooking

Allergens: check rice vinegar and packaged ingredients; no major allergen intentionally added.

Ingredients & method

Ingredients

  • 1 pound (454 g) boneless skinless chicken breast, cut into 1-inch pieces
  • 2 firm pears, cored and cut into 1/2-inch wedges
  • 3 cups (about 210 g) thinly sliced green cabbage
  • 1 tablespoon olive oil
  • 1 tablespoon grated fresh ginger
  • 1 garlic clove, minced
  • 1 tablespoon rice vinegar
  • 1 teaspoon honey
  • 1/4 cup water
  • 1 teaspoon cornstarch mixed with 1 tablespoon cold water
  • 1/4 teaspoon black pepper

Method

  1. Read chicken and condiment labels for added brine, salt and allergens. Keep chicken chilled while preparing the other ingredients.
  2. Wash pears and cabbage under running water; core and cut the pears and slice cabbage on a clean produce board.
  3. Mix rice vinegar, honey and the quarter cup of water in a small bowl; keep the cornstarch slurry separate.
  4. Heat oil in a large skillet over medium-high heat. Add chicken with a dedicated utensil and cook for 5-7 minutes, turning to color the surfaces.
  5. Reduce heat to medium; add ginger, garlic and pepper and stir for 30 seconds.
  6. Add cabbage, pear wedges and the vinegar mixture. Cover and cook for 5-7 minutes; pears should soften while holding their shape.
  7. Use a clean thermometer to check several of the largest chicken pieces reach 165 F (74 C); cook longer if needed.
  8. Stir the cornstarch slurry again, add it to the simmering pan and stir for 1 minute until the light sauce coats the food.
  9. Divide chicken, pears, cabbage and sauce evenly among four bowls; serve hot.
  10. Chill leftovers promptly in shallow containers; follow the storage note.
Dietary notes & storage

Review pear, honey and sauce portions in your carbohydrate and fluid plan, and the chicken amount in your protein plan. No soy sauce or salt substitute is used. Not clinically reviewed; no universal kidney-safe claim or calculated nutrient values. Agree portions and ingredient choices with your renal dietitian. Do not substitute potassium-containing salt.

Storage: Refrigerate leftovers in shallow containers within 2 hours, or 1 hour above 90 F (32 C), at 40 F (4 C) or below. Use within 3-4 days; reheat hot dishes to 165 F (74 C).

Not kitchen-tested · not clinically reviewed

Back to recipe list
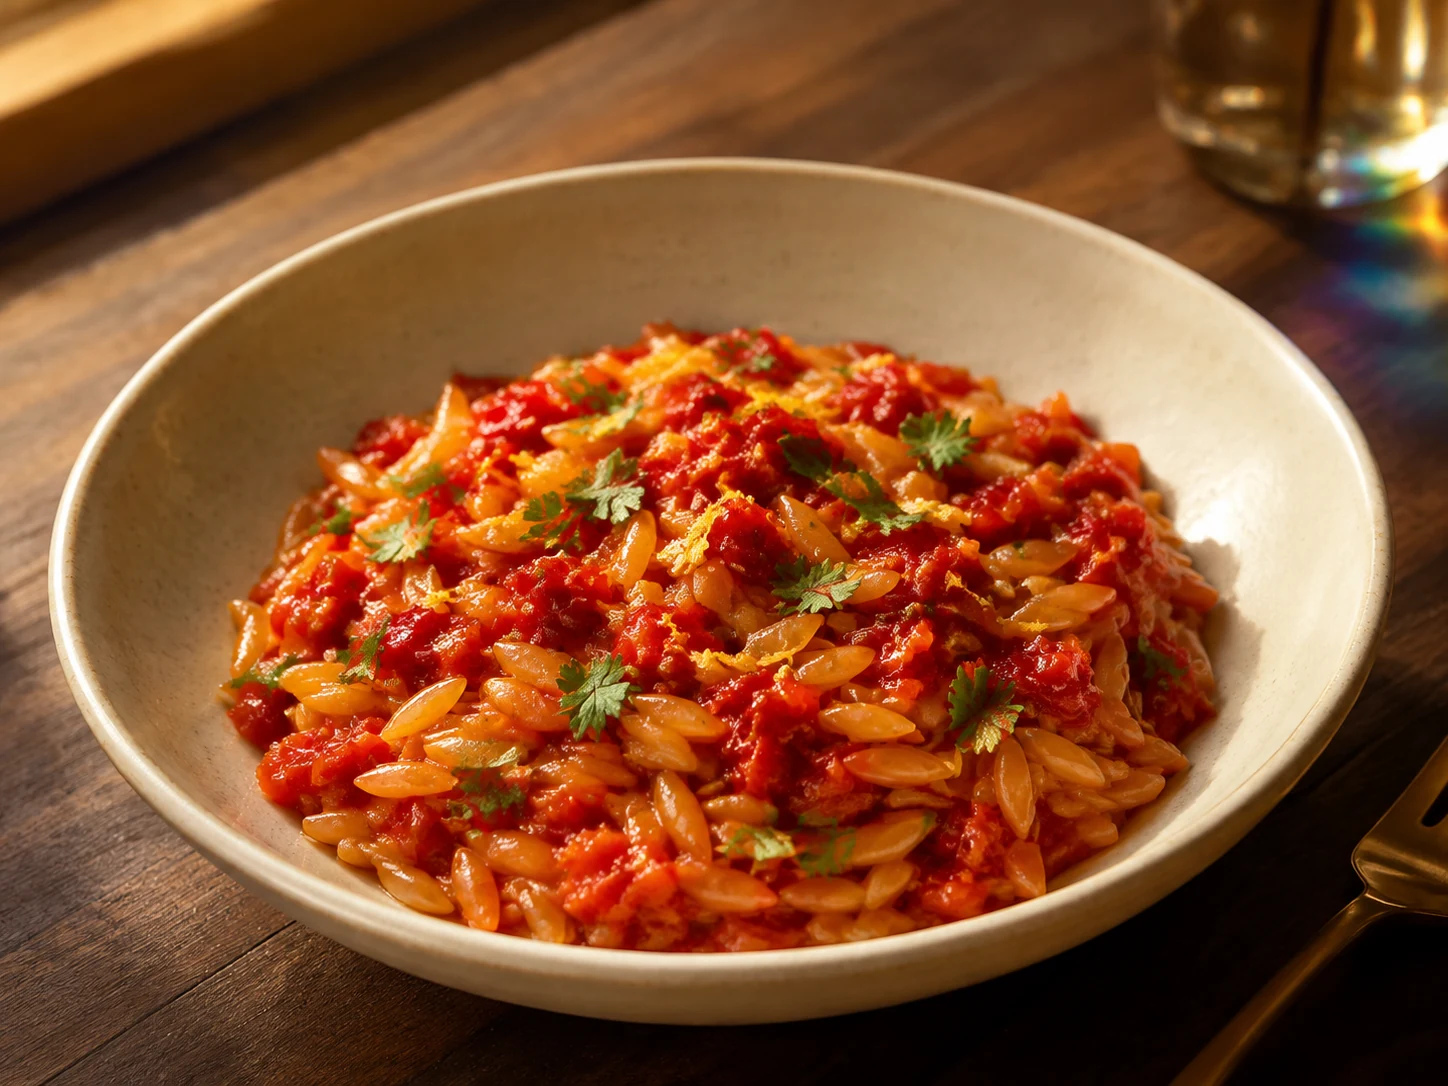
AI illustration of Roasted Red Pepper Orzo with Lemon & Parsley
AI-generated serving illustration; appearance is illustrative, not evidence of a cooked test.

FT-0848

Roasted Red Pepper Orzo with Lemon & Parsley

4 servings; one-quarter of batch each
15 minutes prep + 30 minutes roasting/cooking

Allergens: wheat; some pasta also contains egg.

Ingredients & method

Ingredients

  • 2 medium red bell peppers, halved and seeded
  • 8 ounces (227 g) dry orzo pasta
  • 2 tablespoons olive oil, divided
  • 2 garlic cloves, peeled
  • 1 tablespoon lemon juice
  • 1 teaspoon lemon zest
  • 2 tablespoons chopped fresh parsley
  • 1/4 teaspoon black pepper
  • 1/2 cup reserved pasta cooking water, added only as needed

Method

  1. Heat the oven to 425 F (218 C). Read pasta labels for wheat and any egg ingredients; set aside a rimmed baking sheet.
  2. Wash peppers, lemon and parsley. Halve and seed peppers, peel garlic and prepare the zest and parsley.
  3. Rub pepper halves and garlic with one tablespoon oil and place them cut-side down on the baking sheet.
  4. Roast for 25-30 minutes until the peppers soften and their skins blister; remove garlic early if it starts to burn.
  5. Meanwhile cook orzo in unsalted boiling water following its package timing; reserve half a cup of cooking water, then drain.
  6. Let peppers cool just enough to handle; remove loose charred skin and chop the flesh.
  7. Mash peppers and roasted garlic into a chunky sauce in a clean bowl with the remaining oil, lemon juice and zest.
  8. Return orzo to the warm pot; fold in pepper sauce and add reserved water one tablespoon at a time only until glossy.
  9. Add parsley and black pepper; divide into four equal portions and serve warm.
  10. Refrigerate remaining orzo promptly in shallow containers; follow the storage note.
Dietary notes & storage

Review pasta and pepper portions against your carbohydrate and potassium plan. Reserved cooking water is optional and should be counted where your fluid plan requires. Not clinically reviewed; no universal kidney-safe claim or calculated nutrient values. Agree portions and ingredient choices with your renal dietitian. Do not substitute potassium-containing salt.

Storage: Refrigerate leftovers in shallow containers within 2 hours, or 1 hour above 90 F (32 C), at 40 F (4 C) or below. Use within 3-4 days; reheat hot dishes to 165 F (74 C).

Not kitchen-tested · not clinically reviewed

Back to recipe list
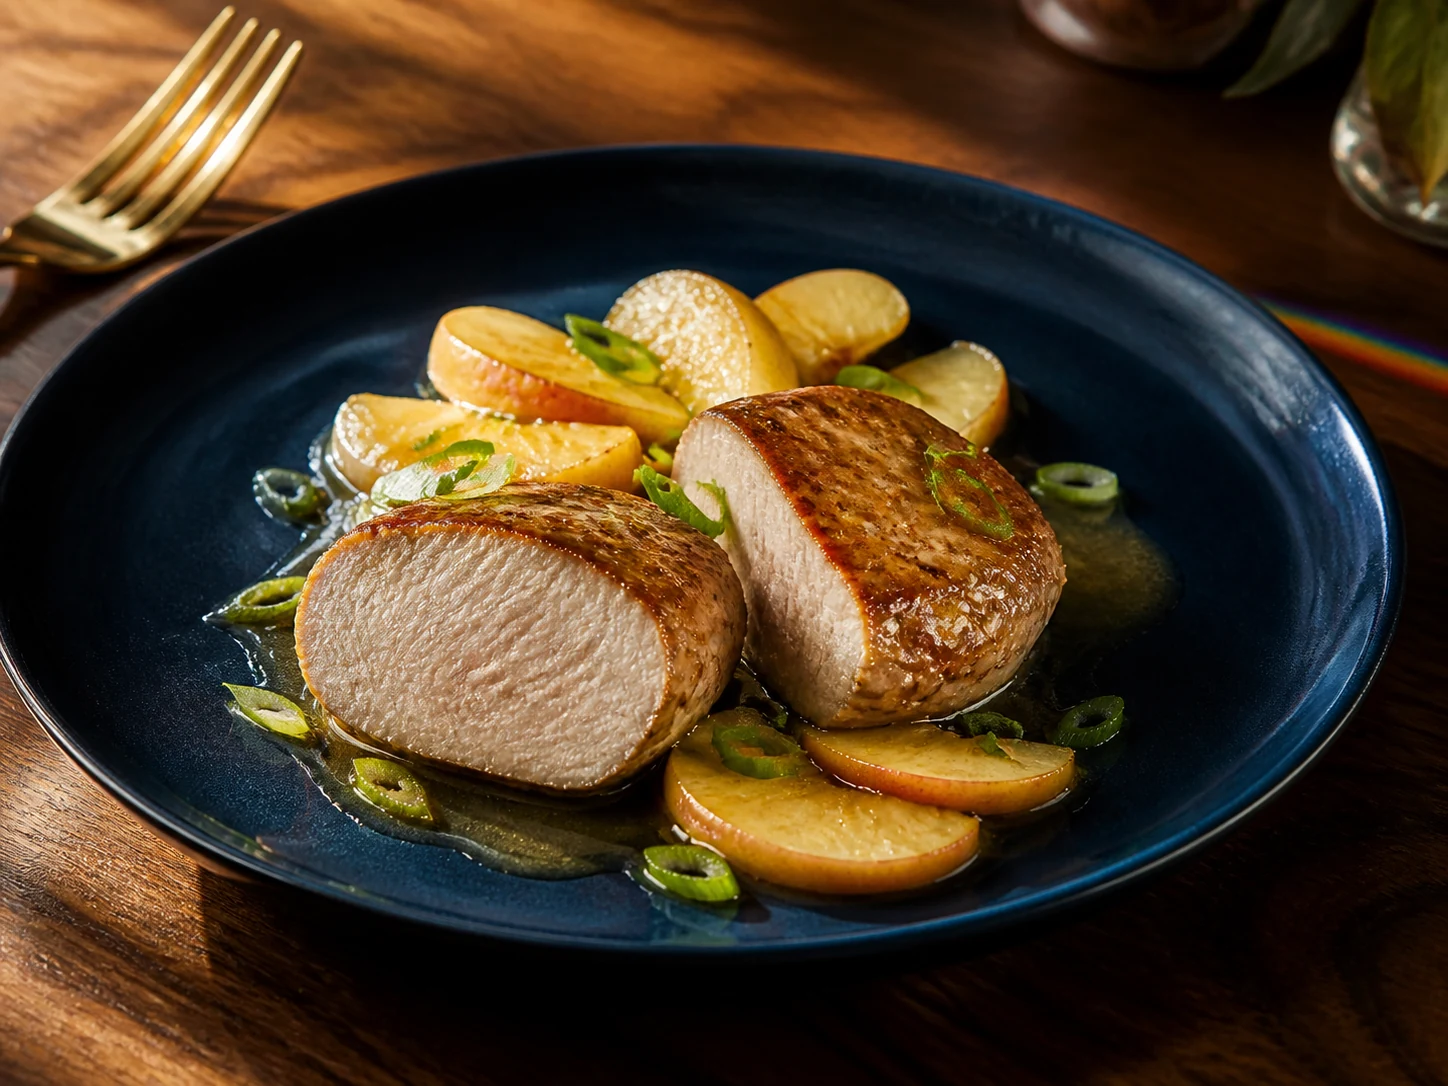
AI illustration of Apple-Scallion Pork Tenderloin Medallions
AI-generated serving illustration; appearance is illustrative, not evidence of a cooked test.

FT-0849

Apple-Scallion Pork Tenderloin Medallions

4 servings; one-quarter of meat and apples each
15 minutes prep + 18-22 minutes cooking/resting

Allergens: no major allergen intentionally added; check pork and vinegar labels.

Ingredients & method

Ingredients

  • 1 pound (454 g) pork tenderloin, trimmed and cut into eight 1-inch medallions
  • 2 medium apples, cored and thinly sliced
  • 4 scallions, trimmed and sliced
  • 1 tablespoon olive oil
  • 1/2 teaspoon dried thyme
  • 1 tablespoon apple cider vinegar
  • 1/4 cup water
  • 1/4 teaspoon black pepper

Method

  1. Read the pork label for added solution, salt or phosphates; keep the meat chilled. Set out a food thermometer.
  2. Wash apples and scallions. Core and slice apples and slice scallions on a clean produce board.
  3. Cut the trimmed pork into eight medallions on a separate raw-meat board; season with thyme and pepper. Wash hands and clean the board.
  4. Heat oil in a large skillet over medium-high heat; sear pork for about 3 minutes on each side without crowding.
  5. Add apple slices, the white parts of scallions, vinegar and water around the meat.
  6. Reduce heat to medium-low, cover and cook for 4-7 minutes until apples soften. Cooking time varies with medallion thickness.
  7. Insert a clean thermometer sideways into the center of each medallion; cook until every piece reaches at least 145 F (63 C).
  8. Move pork to a clean plate and let it rest undisturbed for at least 3 minutes; meanwhile simmer the apples and juices uncovered briefly.
  9. Serve two medallions per plate with one-quarter of the apples and pan juices; scatter with green scallion tops.
  10. Chill leftovers promptly in shallow containers; follow the storage note.
Dietary notes & storage

Review pork labels for added solutions and the meat portion with your renal dietitian; include apples and pan juices in the relevant carbohydrate and fluid plan. Not clinically reviewed; no universal kidney-safe claim or calculated nutrient values. Agree portions and ingredient choices with your renal dietitian. Do not substitute potassium-containing salt.

Storage: Refrigerate leftovers in shallow containers within 2 hours, or 1 hour above 90 F (32 C), at 40 F (4 C) or below. Use within 3-4 days; reheat hot dishes to 165 F (74 C).

Not kitchen-tested · not clinically reviewed

Back to recipe list
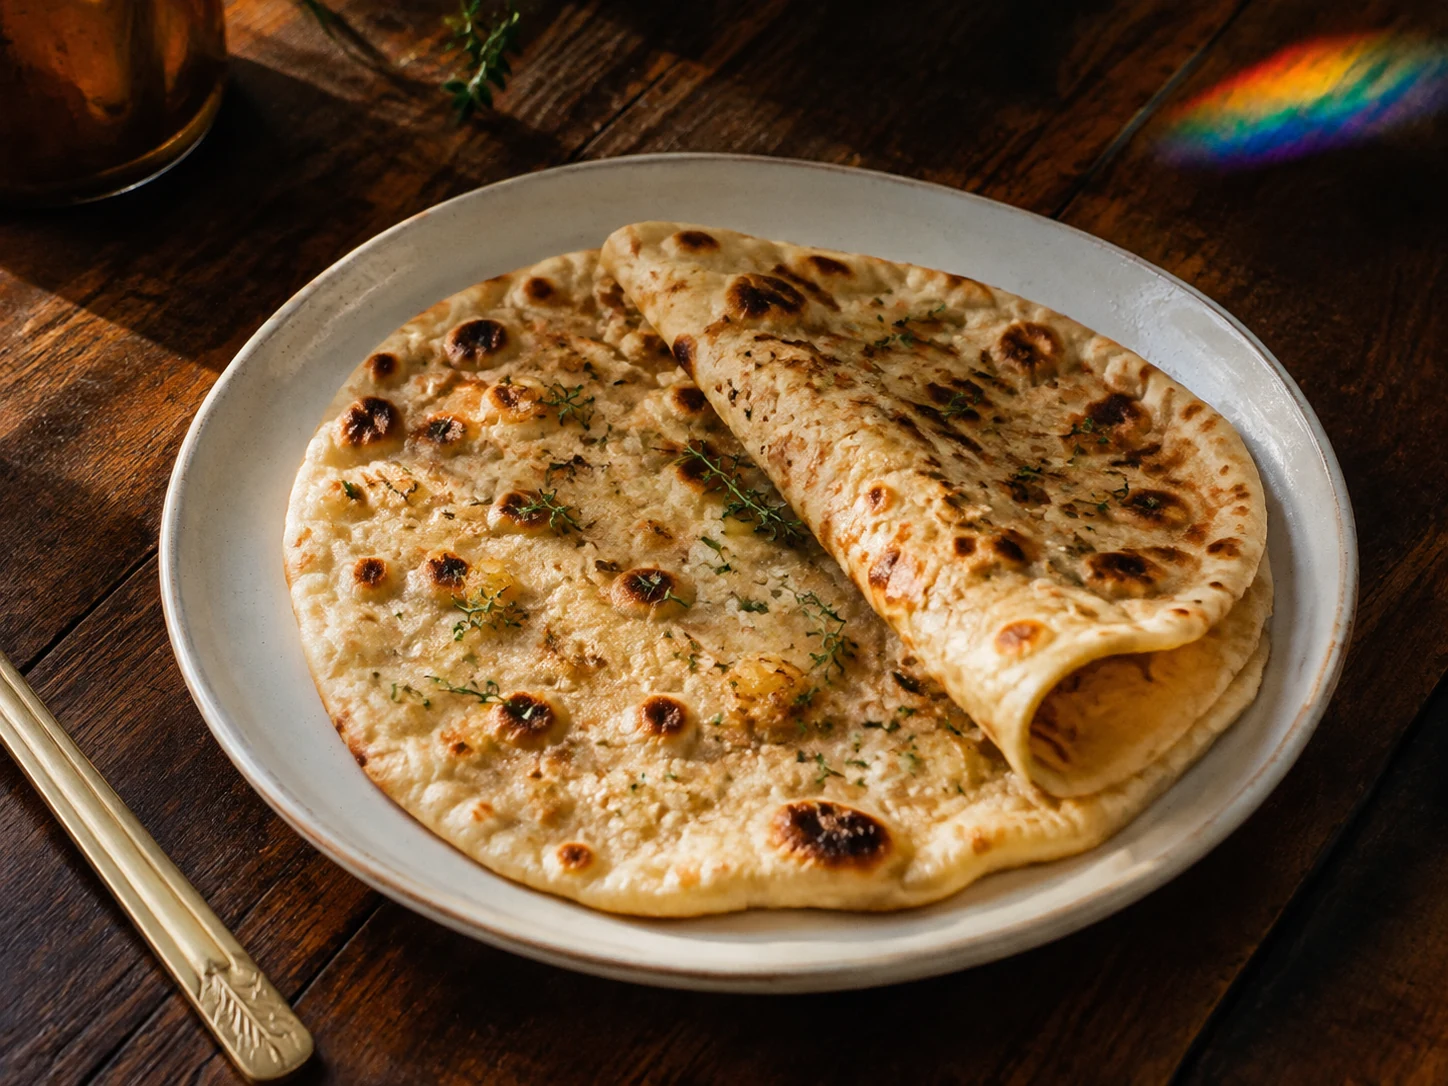
AI illustration of Onion & Thyme Skillet Flatbreads
AI-generated serving illustration; appearance is illustrative, not evidence of a cooked test.

FT-0850

Onion & Thyme Skillet Flatbreads

4 servings; two small flatbreads each
20 minutes prep + 20 minutes rest + 16 minutes cooking

Allergens: wheat.

Ingredients & method

Ingredients

  • 1 1/2 cups (180 g) all-purpose flour, plus 1 tablespoon for dusting
  • 1/2 cup plus 1 tablespoon warm water
  • 2 tablespoons olive oil, divided
  • 1 small onion (about 100 g), finely diced
  • 1 teaspoon dried thyme
  • 1/4 teaspoon black pepper

Method

  1. Read flour and thyme labels for allergens and cross-contact; measure all ingredients. This dough uses no baking powder or salt substitute.
  2. Wash and peel onion, then dice it finely on a clean board.
  3. Warm one tablespoon oil in a skillet over medium-low heat; cook onion for 8-10 minutes until soft, stirring often. Add thyme and pepper, then spread on a plate to cool.
  4. Mix 180 g flour, warm water and the remaining tablespoon oil into a soft dough; knead for 3-4 minutes. Do not taste raw flour or dough.
  5. Cover the dough and rest for 20 minutes while the onions cool.
  6. Knead the cooled onion mixture into the dough, using the measured dusting flour as needed to prevent sticking.
  7. Divide into eight equal balls; roll each into a thin round about 5 inches across.
  8. Heat a clean dry skillet over medium heat; cook two rounds at a time for 2 minutes per side, until brown spots appear and no wet dough remains. Lower heat if they scorch before cooking through.
  9. Wrap cooked flatbreads briefly in a clean towel; serve two per person.
  10. Let extras release excess steam, then refrigerate promptly; follow the storage note and reheat covered until hot.
Dietary notes & storage

No salt is added, but no nutrient values are calculated. Review the flour portion and any chosen accompaniments against your personal meal plan. Not clinically reviewed; no universal kidney-safe claim or calculated nutrient values. Agree portions and ingredient choices with your renal dietitian. Do not substitute potassium-containing salt.

Storage: Refrigerate leftovers in shallow containers within 2 hours, or 1 hour above 90 F (32 C), at 40 F (4 C) or below. Use within 3-4 days; reheat hot dishes to 165 F (74 C).

Not kitchen-tested · not clinically reviewed

Back to recipe list
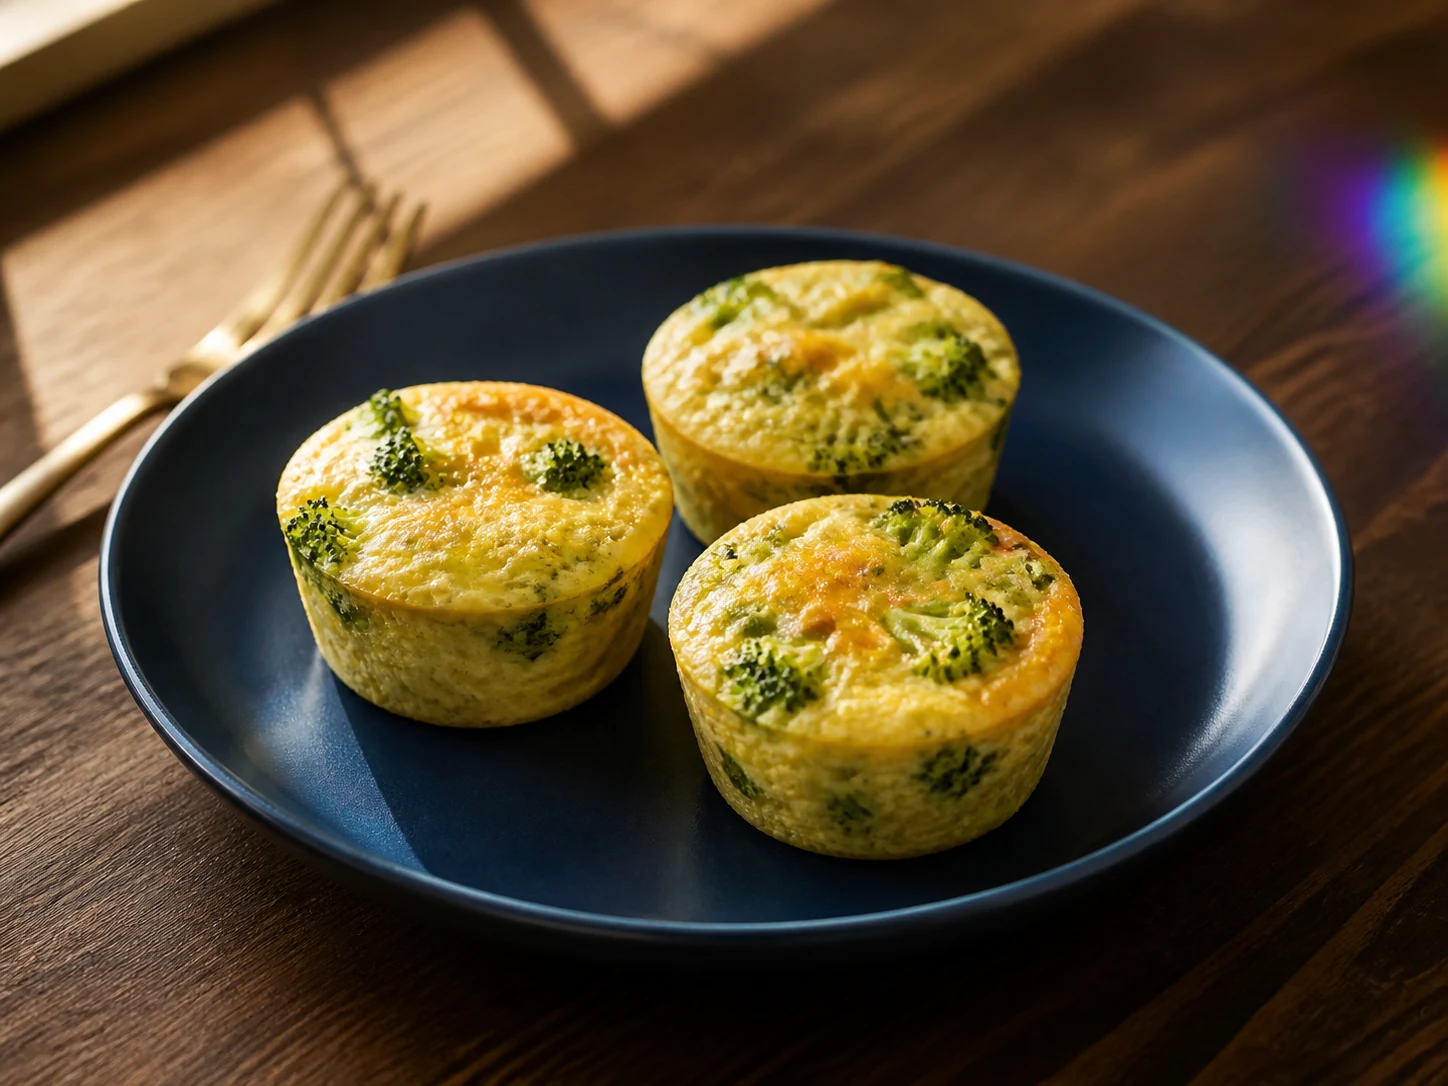
AI illustration of Broccoli & Cheddar Egg Muffins
AI-generated serving illustration; appearance is illustrative, not evidence of a cooked test.

FT-0851

Broccoli & Cheddar Egg Muffins

4 servings; three mini frittata muffins each
15 minutes prep + 18-23 minutes baking + 5 minutes rest

Allergens: egg and milk.

Ingredients & method

Ingredients

  • 8 large pasteurized eggs
  • 1 1/2 cups small broccoli florets (about 135 g)
  • 1/3 cup (about 38 g) grated cheddar made from pasteurized milk
  • 1/4 cup water
  • 1 teaspoon olive oil for the pan
  • 1/4 teaspoon black pepper

Method

  1. Heat the oven to 350 F (177 C). Check eggs and cheese labels and lightly oil all twelve wells of a standard muffin pan.
  2. Wash broccoli under running water and chop the florets finely.
  3. Steam broccoli for 3-4 minutes until just tender; drain very thoroughly and let it stop steaming.
  4. Crack pasteurized eggs into a clean bowl; whisk with water and pepper. Wash hands and utensils that touched raw egg.
  5. Stir the drained broccoli and grated cheddar into the egg mixture.
  6. Divide evenly among twelve muffin wells, stirring between scoops to distribute broccoli; leave space for expansion.
  7. Bake for 18-23 minutes until puffed and set; timing is only an estimate.
  8. Check several muffins in the center with a clean thermometer for at least 160 F (71 C); return the pan to the oven if any are below this temperature.
  9. Rest in the pan for 5 minutes, loosen with a silicone spatula and serve three muffins per person.
  10. Refrigerate extras promptly in shallow containers; follow the storage note and reheat to 165 F (74 C).
Dietary notes & storage

Egg and cheese portions need individualized protein, phosphorus and sodium review. The small measured cheese quantity does not make this a clinically approved renal recipe. Not clinically reviewed; no universal kidney-safe claim or calculated nutrient values. Agree portions and ingredient choices with your renal dietitian. Do not substitute potassium-containing salt.

Storage: Refrigerate leftovers in shallow containers within 2 hours, or 1 hour above 90 F (32 C), at 40 F (4 C) or below. Use within 3-4 days; reheat hot dishes to 165 F (74 C).

Not kitchen-tested · not clinically reviewed

Back to recipe list
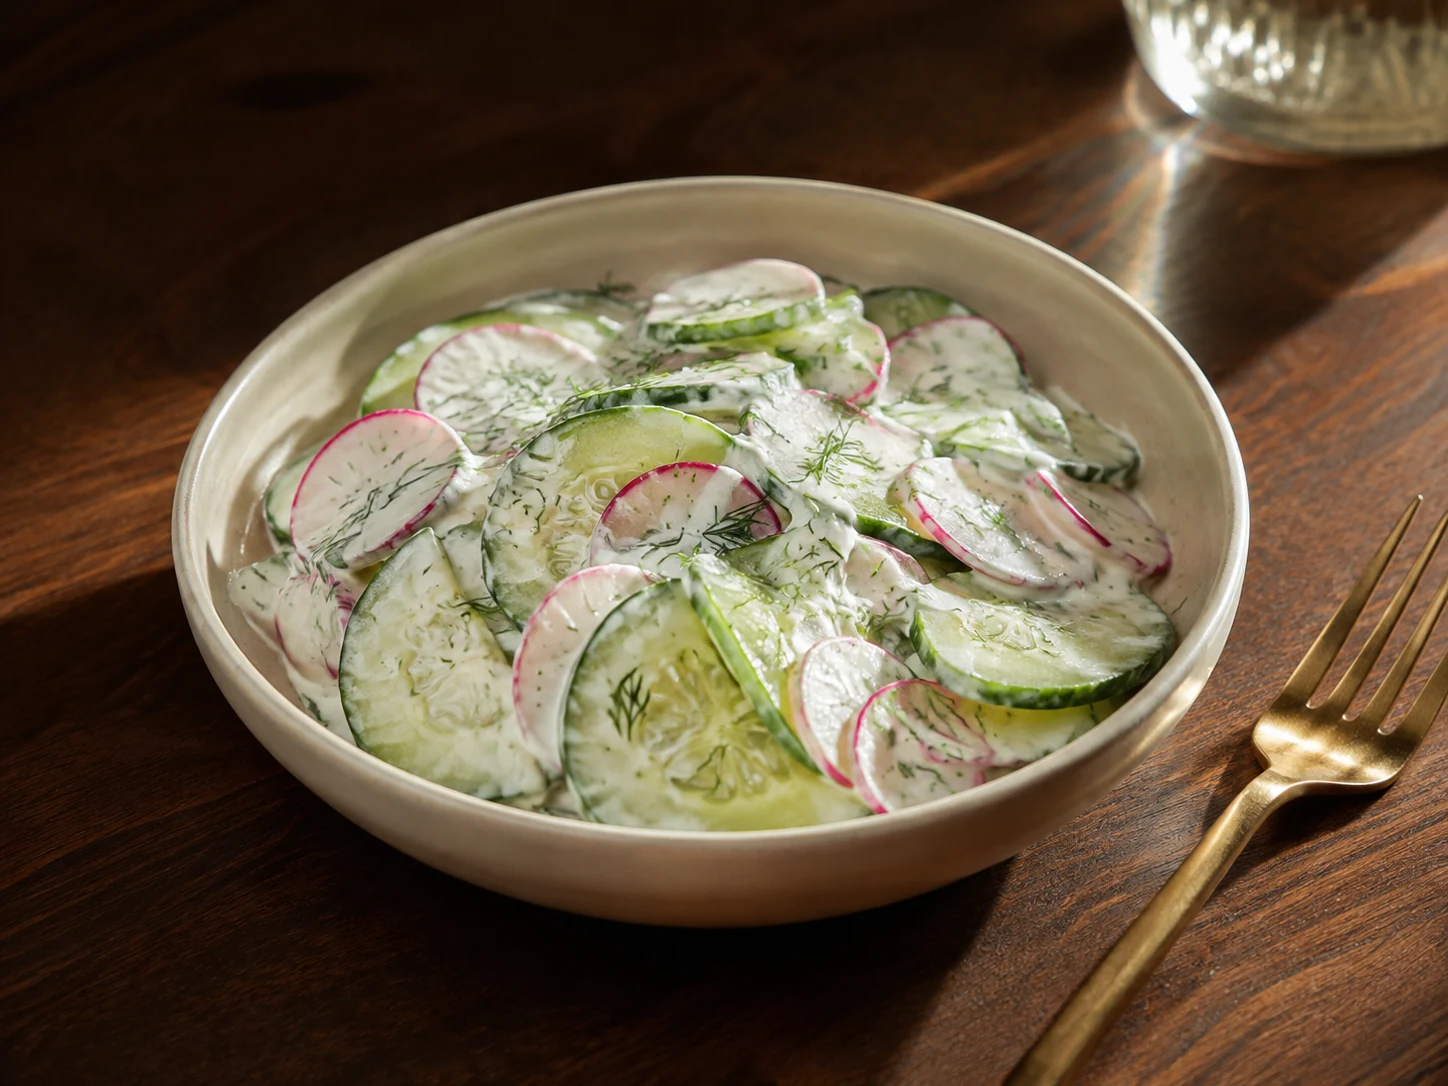
AI illustration of Cucumber, Radish & Dill Yogurt Salad
AI-generated serving illustration; appearance is illustrative, not evidence of a cooked test.

FT-0852

Cucumber, Radish & Dill Yogurt Salad

4 side servings; one-quarter of salad each
15 minutes prep; serve cold

Allergens: milk.

Ingredients & method

Ingredients

  • 1 medium cucumber (about 250 g), halved and thinly sliced
  • 6 radishes (about 90 g), trimmed and thinly sliced
  • 1/2 cup pasteurized plain yogurt
  • 1 tablespoon lemon juice
  • 1 tablespoon chopped fresh dill
  • 1 teaspoon olive oil
  • 1/4 teaspoon black pepper

Method

  1. Confirm yogurt is pasteurized and check its ingredients and allergen label. Keep it refrigerated until mixing.
  2. Wash hands, bowl, knife and board; keep this ready-to-eat preparation separate from raw meat and fish.
  3. Wash cucumber, radishes, lemon and dill thoroughly under running water.
  4. Trim and thinly slice cucumber and radishes; dry the slices with a clean towel so the dressing is not watery.
  5. Mix yogurt, lemon juice, olive oil and pepper in a chilled bowl.
  6. Chop the dill and stir it into the dressing.
  7. Fold cucumber and radishes through the dressing until lightly coated.
  8. Divide evenly among four small bowls; the recipe makes side portions rather than a complete meal.
  9. Serve cold immediately, or cover and refrigerate at 40 F (4 C) or below until serving.
  10. Refrigerate leftovers promptly and follow the time limits in the storage note; best texture is on the day of mixing.
Dietary notes & storage

Include yogurt in your individualized phosphorus, potassium and fluid plan. Review the cucumber and radish portions too; no blanket low-potassium claim is made. Not clinically reviewed; no universal kidney-safe claim or calculated nutrient values. Agree portions and ingredient choices with your renal dietitian. Do not substitute potassium-containing salt.

Storage: Refrigerate leftovers in shallow containers within 2 hours, or 1 hour above 90 F (32 C), at 40 F (4 C) or below. Use within 3-4 days; reheat hot dishes to 165 F (74 C).

Not kitchen-tested · not clinically reviewed

Back to recipe list
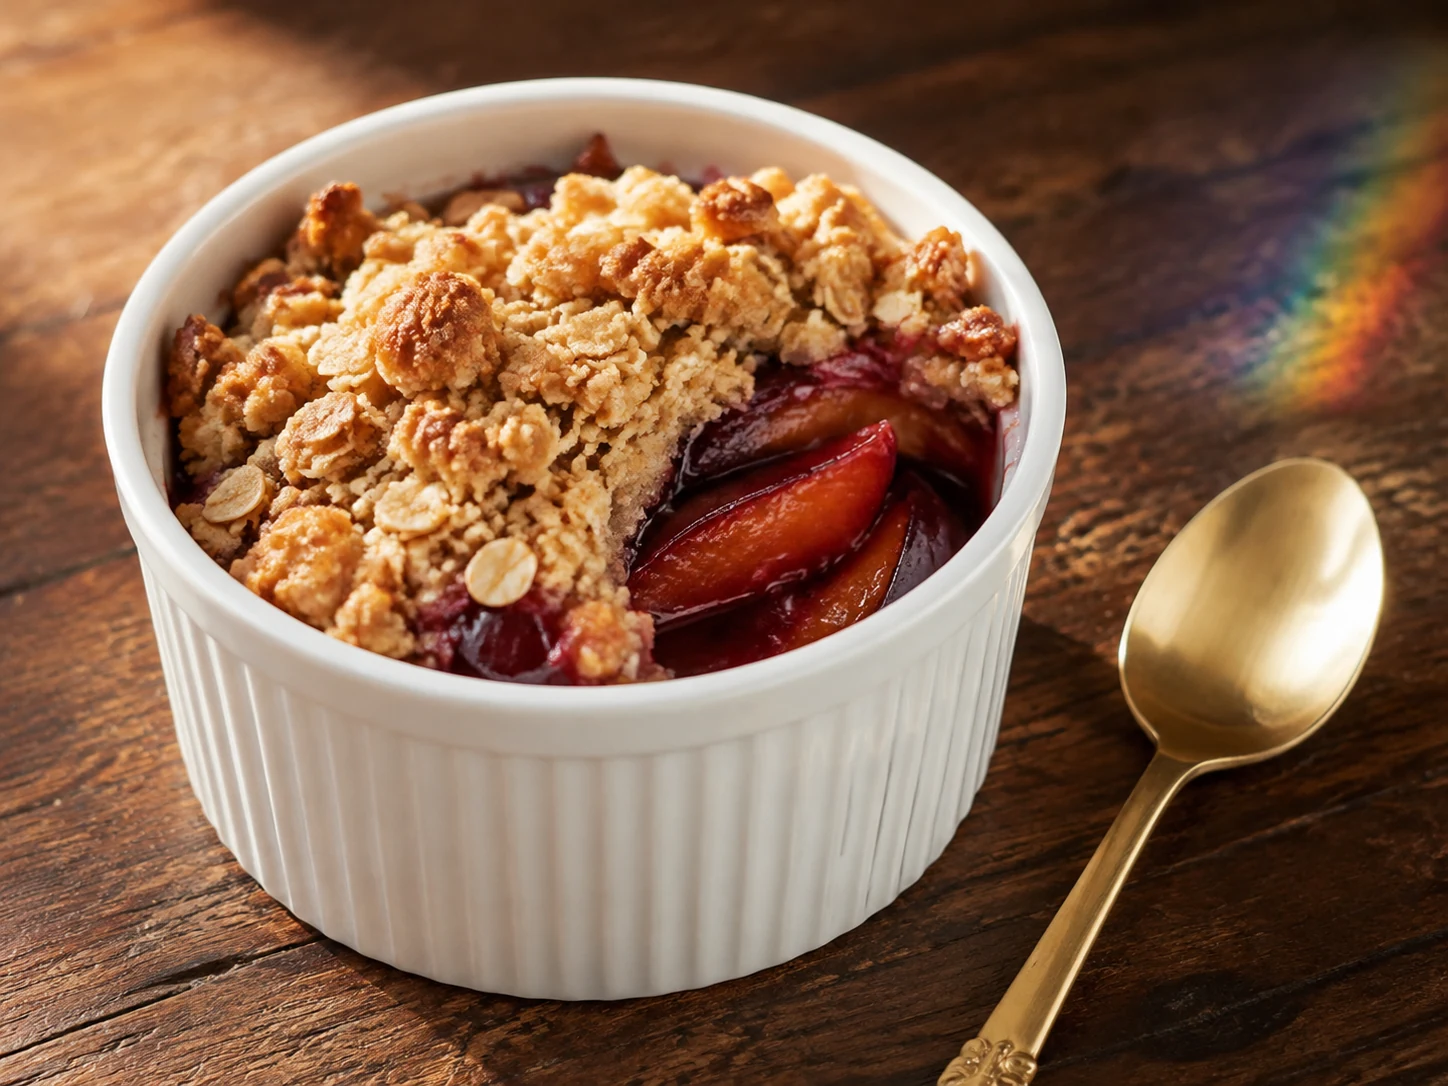
AI illustration of Warm Plum & Cinnamon Oat Crumble
AI-generated serving illustration; appearance is illustrative, not evidence of a cooked test.

FT-0853

Warm Plum & Cinnamon Oat Crumble

4 servings; one ramekin each
15 minutes prep + 25-30 minutes baking + 10 minutes cooling

Allergens: wheat; check oats for cross-contact.

Ingredients & method

Ingredients

  • 4 medium plums (about 300 g), pitted and cut into wedges
  • 1 teaspoon cornstarch
  • 1 tablespoon water
  • 1/2 teaspoon ground cinnamon, divided
  • 1/2 cup (45 g) rolled oats
  • 1/4 cup (30 g) all-purpose flour
  • 2 tablespoons brown sugar
  • 2 tablespoons olive oil
  • Four 6-ounce oven-safe ramekins

Method

  1. Heat the oven to 375 F (190 C). Check oat and flour labels for allergens and cross-contact; place four ramekins on a baking sheet.
  2. Wash plums under running water, halve them, remove every pit and cut into wedges.
  3. Toss plums with cornstarch, water and one-quarter teaspoon cinnamon.
  4. Divide fruit evenly among the four ramekins, leaving headroom for the topping.
  5. Mix oats, flour, brown sugar and the remaining cinnamon in a clean bowl.
  6. Stir in olive oil until the mixture forms damp crumbs; do not taste the raw flour mixture.
  7. Scatter one-quarter of the crumble topping over each ramekin without packing it down.
  8. Bake 25-30 minutes until fruit bubbles and the topping is browned; shield loosely with foil if it colors too quickly.
  9. Cool for at least 10 minutes; warn diners that the fruit and ceramic remain hot, and serve one ramekin each.
  10. Cool and refrigerate leftovers promptly; follow the storage note.
Dietary notes & storage

Discuss plum, oat and sugar portions in your potassium, phosphorus and carbohydrate plan. This dessert has no calculated nutrient panel and is not a prescribed serving. Not clinically reviewed; no universal kidney-safe claim or calculated nutrient values. Agree portions and ingredient choices with your renal dietitian. Do not substitute potassium-containing salt.

Storage: Refrigerate leftovers in shallow containers within 2 hours, or 1 hour above 90 F (32 C), at 40 F (4 C) or below. Use within 3-4 days; reheat hot dishes to 165 F (74 C).

Not kitchen-tested · not clinically reviewed

Back to recipe list
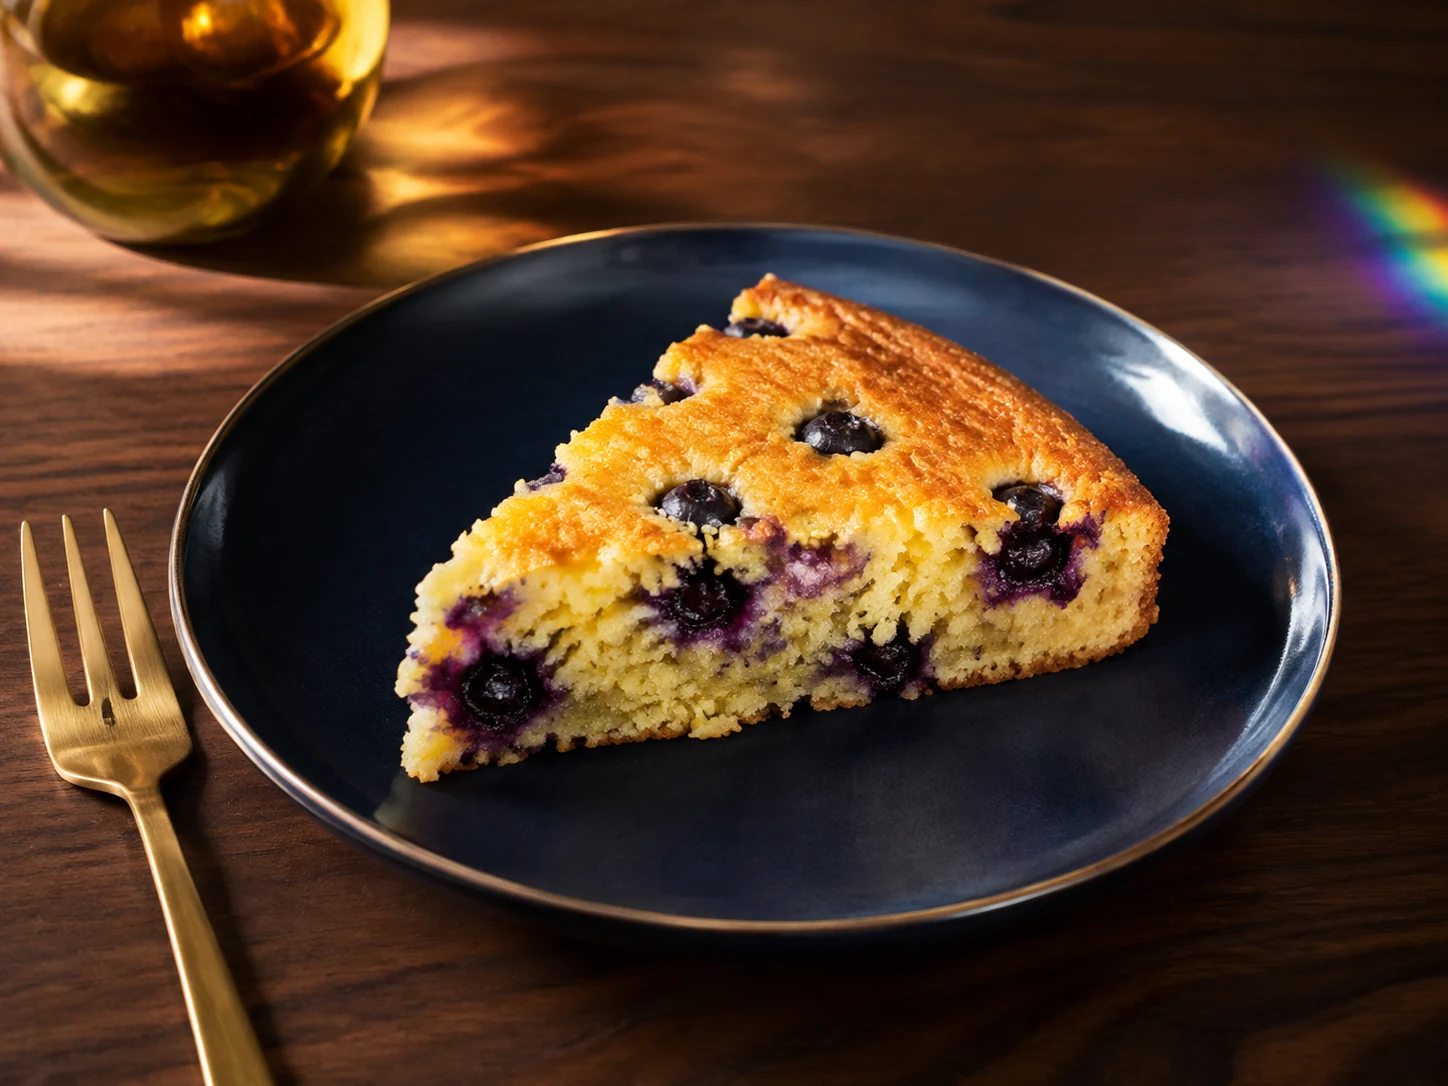
AI illustration of Blueberry-Lemon Cornmeal Skillet Cake
AI-generated serving illustration; appearance is illustrative, not evidence of a cooked test.

FT-0854

Blueberry-Lemon Cornmeal Skillet Cake

8 servings; one-eighth of 8-inch cake each
15 minutes prep + 25-32 minutes baking + 20 minutes cooling

Allergens: wheat and egg.

Ingredients & method

Ingredients

  • 1/2 cup (60 g) all-purpose flour
  • 1/2 cup (75 g) fine yellow cornmeal
  • 1 teaspoon baking powder; check sodium/phosphate ingredients
  • 1/3 cup (67 g) granulated sugar
  • 2 large pasteurized eggs
  • 1/3 cup (80 ml) olive oil, plus 1 teaspoon for the pan
  • 1/3 cup (80 ml) water
  • 1 tablespoon lemon juice
  • 1 teaspoon lemon zest
  • 3/4 cup (about 110 g) blueberries

Method

  1. Heat the oven to 350 F (177 C). Oil an 8-inch oven-safe skillet with one teaspoon oil; confirm the handle is oven-safe. Read flour and baking-powder labels.
  2. Wash blueberries and lemon under running water; dry berries and grate one teaspoon zest.
  3. Whisk flour, cornmeal and baking powder together in a clean bowl.
  4. In a second bowl whisk sugar and pasteurized eggs, then whisk in one-third cup oil, water, lemon juice and zest.
  5. Fold dry ingredients into wet just until no dry pockets remain; do not taste uncooked batter.
  6. Fold in blueberries gently and spread the batter evenly in the prepared skillet.
  7. Bake 25-32 minutes until the center is set, springs back lightly and a tester has no wet batter; check a second spot if you hit a berry.
  8. Place the skillet on a heat-safe rack and mark the handle as hot. Cool the cake for at least 20 minutes.
  9. Cut into eight equal wedges and serve one wedge per portion; the image is an illustrative serving suggestion.
  10. Cover and refrigerate remaining cake promptly after serving; follow the storage note.
Dietary notes & storage

Baking powder can contribute sodium and phosphate additives; obtain dietitian guidance on the specific product rather than using a potassium-based substitute. Review sugar, flour, cornmeal and portion size against your plan. Not clinically reviewed; no universal kidney-safe claim or calculated nutrient values. Agree portions and ingredient choices with your renal dietitian. Do not substitute potassium-containing salt.

Storage: Refrigerate leftovers in shallow containers within 2 hours, or 1 hour above 90 F (32 C), at 40 F (4 C) or below. Use within 3-4 days; reheat hot dishes to 165 F (74 C).

Not kitchen-tested · not clinically reviewed

Back to recipe list

Sources & review boundaries

These primary sources inform food handling and individual dietary planning. They do not endorse, test or provide the formulations on this page. Recipe text and serving illustrations were created for NorthStar Prime.